

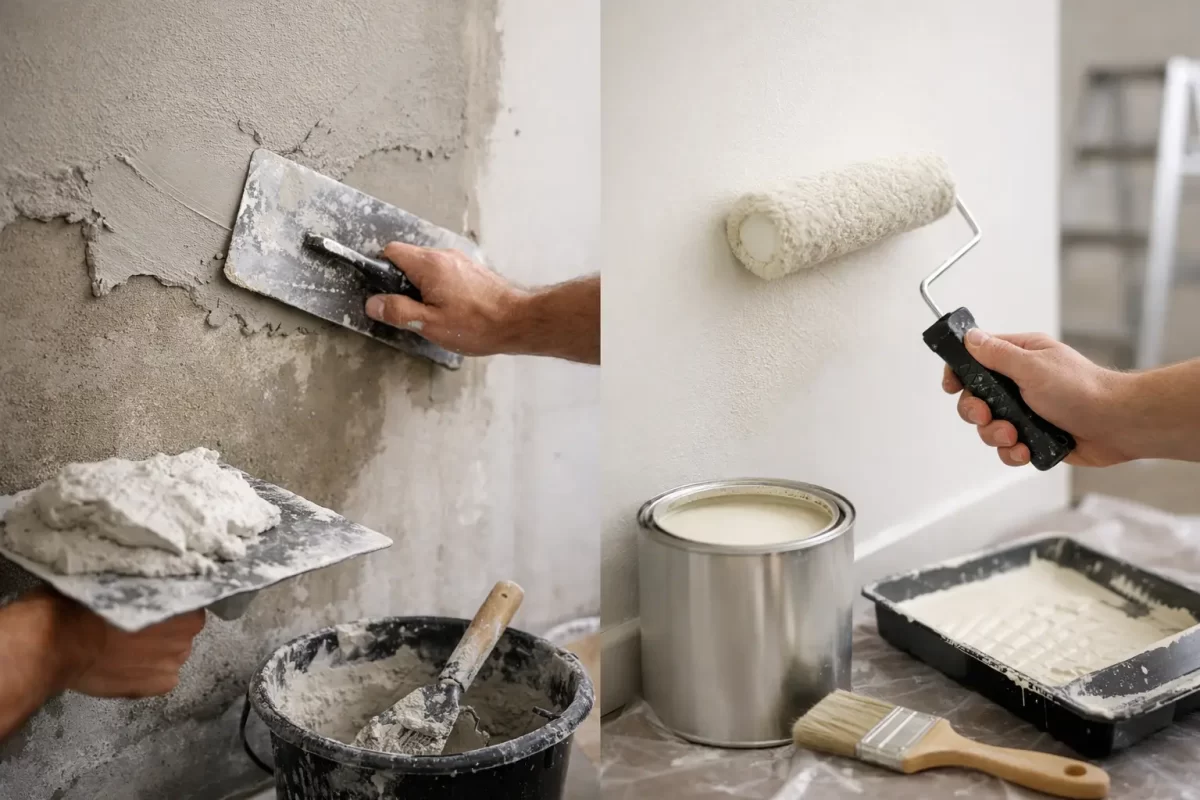
A fresh coat of paint cannot hide a wall that is uneven, cracked or poorly repaired. When homeowners ask whether to tackle plastering or painting first, the answer is usually clear: complete the plastering work first, then paint once the surface is properly dry, prepared and primed.
Getting the order right saves time, avoids unnecessary rework and gives your walls and ceilings the clean finish you expect. It also helps protect your investment, whether you are updating one room, renovating an entire home or preparing a commercial space for new tenants.
Plastering or Painting First? Plaster First
Plastering should be completed before painting in almost every situation. Plasterers repair holes, cover joins, smooth damaged sections and level out imperfections before paint is applied. Their work involves wet materials, sanding dust and surface preparation, all of which can damage or contaminate freshly painted areas.
Painting first may seem like a way to get ahead, particularly if the plaster repairs look small. In practice, it often creates extra work. A repaired section will need to be sanded, sealed and painted anyway, while dust can settle on nearby painted walls, skirting boards and fittings. The result can be patchy colour, rough texture or visible repair lines under certain lighting.
The correct sequence is generally simple: repair and plaster the surface, allow it to dry, sand it smooth, apply the appropriate sealer or primer, then paint. Each stage supports the next one.
Why Painting Over Unfinished Plaster Causes Problems
New or repaired plaster is highly absorbent. If paint is applied directly without the correct preparation, it can soak in unevenly. This may leave dull patches, inconsistent sheen or areas where the final colour looks noticeably different from the rest of the wall.
Moisture is another concern. Plaster needs adequate drying time before it is sealed and painted. Painting over a damp surface can trap moisture, which may affect adhesion and lead to blistering, peeling or staining later on. Gold Coast humidity can slow the drying process, especially in closed-up rooms, bathrooms, laundries and properties where ventilation is limited.
There is also the issue of finish quality. Even a small raised edge around a patch repair can become obvious once paint catches the light. Professional preparation includes feathering repair edges, sanding carefully and checking the wall from different angles before painting begins. The goal is for the repair to disappear, not simply be covered.
The Best Order for Walls and Ceilings
For most interior projects, plastering and painting work should follow a planned sequence. This keeps the site cleaner and makes it easier to produce a consistent result.
1. Assess the existing surfaces
Before work starts, inspect walls and ceilings for cracks, dents, loose plaster, water marks and previous repairs. Not every crack is cosmetic. Movement, moisture or a leaking roof can cause recurring damage, so the underlying issue should be addressed before patching and painting.
A thorough assessment also identifies whether the old paint is sound. Flaking or unstable coatings may need further preparation before any repairs or new paint are applied.
2. Complete repairs and plastering
Holes from picture hooks, removed wall fixtures, electrical work or renovation changes should be filled and smoothed. Larger repairs, damaged cornices, wall cracks and new plasterboard joints may require more detailed plastering work.
This is the stage for achieving a level surface. Rushing it can leave ripples, joint lines and repair patches that remain visible after painting. A quality paint finish starts well before the paint tin is opened.
3. Allow the plaster to dry fully
Drying time depends on the product used, the depth of the repair, room temperature and airflow. Thin patches may dry relatively quickly, while larger plastering work can take much longer. A professional will assess the surface rather than relying on a fixed timeframe.
Trying to speed things up with paint is false economy. If there is any doubt about moisture, waiting is the safer option.
4. Sand, clean and seal the surface
Once dry, the plaster is sanded to blend smoothly into the surrounding wall or ceiling. All dust needs to be removed before paint goes on. This matters more than many people realise: fine plaster dust can interfere with adhesion and leave a gritty finish.
A suitable sealer or primer is then applied, particularly over new plaster and repairs. This evens out the surface porosity, helps the paint bond properly and creates a more uniform finish coat.
5. Paint the ceilings, walls and trim
With preparation complete, painting can proceed in the usual order. Ceilings are generally painted before walls so any splatter can be dealt with while wall finishes are still to come. Doors, frames, skirtings and other trim are normally painted after the main wall areas, depending on the scope of the project and the selected paint system.
Careful cutting-in, consistent roller application and enough drying time between coats make a real difference to the final appearance.
When Painting May Come Before Plastering
There are limited cases where painting can happen before minor plastering work, but these are exceptions rather than the rule. For example, a property may be receiving a broad repaint now, with planned alterations or wall-mounted cabinetry to be installed later. In that case, the later repairs will still require spot priming and touch-up painting after plastering is finished.
Likewise, if a single tiny nail hole is found after a room has been painted, it may be practical to fill it and carry out a small touch-up. Matching sheen and colour can be difficult, though, particularly on older paintwork exposed to sunlight and general wear.
For renovation projects, it is usually better to coordinate the trades so plastering is complete before the final painting stage. This reduces the chance of other work damaging finished surfaces.
Don’t Forget About Water Damage and Cracks
A wall stain or crack should not automatically be treated as a painting problem. Brown marks on a ceiling, bubbling paint near a window or repeated cracking around door frames may point to moisture, movement or another issue beneath the surface.
Painting over water damage without fixing the leak can lead to the stain returning. Filling an active crack without understanding why it formed can produce the same result. A proper approach deals with the cause first, then repairs, seals and paints the affected area.
This is particularly relevant in coastal properties, where moisture, salt air and strong weather conditions can place extra pressure on exterior finishes and vulnerable building areas.
Choosing the Right Finish After Plaster Repairs
The paint sheen you choose can affect how visible surface imperfections appear. Higher-sheen paints reflect more light and can highlight uneven areas, especially on large walls facing windows or under downlights. Lower-sheen finishes are generally more forgiving, although they still need sound preparation for a professional result.
Colour selection matters too. Deep, dark colours and bright whites can reveal inconsistencies more readily than mid-tone colours. If you are unsure, testing a sample in the room at different times of day is worthwhile. Natural light, warm LEDs and cool lighting can all change how a colour and surface texture appear.
For kitchens, bathrooms and high-traffic areas, the right product is just as important as the colour. These spaces need paint that suits their level of moisture, cleaning and daily use.
A Better Result Starts With Proper Preparation
Plastering and painting are closely connected trades. Treating them as separate jobs without considering the handover between them is where many projects lose quality. Good plastering gives paint a sound, smooth base. Good painting protects that surface and gives the room its finished character.
For homeowners and property managers, working with a team that can manage both stages removes guesswork about timing, materials and finish expectations. Jag Painting Solutions can assess the condition of your walls and ceilings, recommend the right preparation and provide a clear quote for the work required.
If your surfaces need repair, make that the first job. Once the plaster is dry, smooth and properly sealed, your chosen paint colour has the best chance to look clean, even and built to last.


