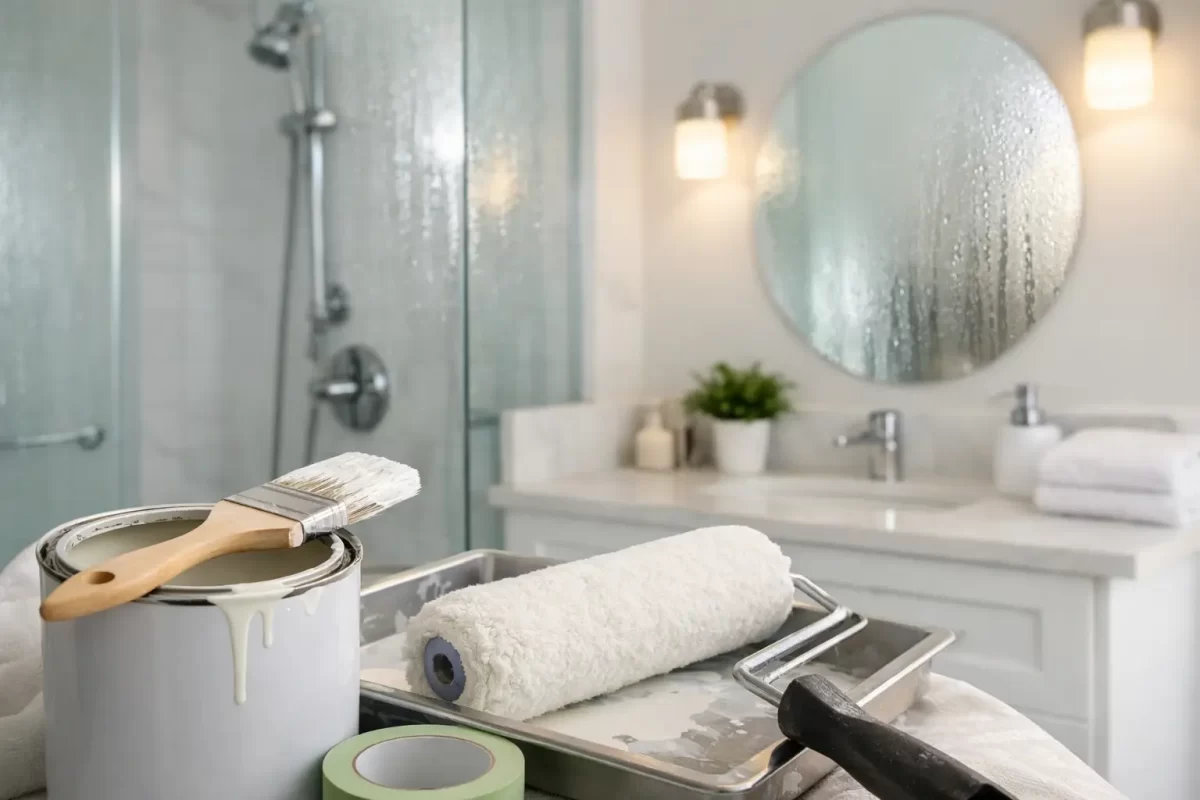
A bathroom can look freshly renovated one month and show peeling paint, brown ceiling marks or mould spots the next. That is usually not because the wrong colour was chosen. It is because moisture has found a weak point in the coating system. The best paints humid bathrooms can handle are only part of the answer – careful preparation, suitable sheen and proper ventilation matter just as much.
For Gold Coast homes, where warm, humid conditions are common for much of the year, bathroom paint needs to cope with steam, condensation and regular cleaning. A professional-looking result starts by treating the room as a high-moisture space, not just another interior wall.
Why ordinary wall paint struggles in bathrooms
Every shower fills the room with warm moisture. When that moisture settles on cooler walls and ceilings, it can sit on the paint film and work its way into small cracks, poorly sealed joints or porous old coatings. Over time, the result may be blistering, flaking, staining and mould growth.
Standard interior paint can be fine in a well-ventilated powder room, but it is rarely the best choice for a family bathroom with daily showers. The paint needs a tougher, washable surface that resists moisture while allowing the substrate to remain stable underneath.
Paint cannot correct an active leak, failed waterproofing or poor exhaust ventilation. If moisture is coming through a wall or ceiling cavity, painting over the marks may improve the appearance briefly, but the problem will return. The source needs to be identified and repaired before any finishing work begins.
Best paints for humid bathrooms: what to look for
The label matters more than a brand name. Look for a premium interior acrylic paint specifically rated for bathrooms, kitchens or wet areas. These products are formulated to handle higher humidity and frequent cleaning better than basic interior wall paints.
Moisture-resistant acrylic for bathroom walls
A quality water-based acrylic is generally the most practical option for bathroom walls. It dries relatively quickly, has lower odour than traditional solvent-based products and is available in washable, moisture-resistant formulations.
For most bathrooms, a low-sheen or satin finish offers the best balance. It is easier to wipe clean than a matt finish and does not highlight every small imperfection as strongly as a high-gloss paint. Low sheen can work well on carefully prepared walls, while satin offers a little more durability around busy family bathrooms.
A very flat or matt wall paint may look refined, but it is more absorbent and harder to clean. It is better suited to low-moisture rooms unless the product is clearly designed for bathroom use.
Mould-resistant ceiling paint
Bathroom ceilings deserve their own consideration. Steam rises, so the ceiling often receives the greatest moisture load in the room. A quality mould-resistant ceiling paint is a sensible choice, particularly where the room has limited natural airflow.
Ceiling paints are often lower sheen to reduce glare and hide minor surface variation. The key is to choose one made for humid areas, rather than applying ordinary ceiling paint and hoping an exhaust fan will do all the work.
Mould-resistant paint helps slow mould growth on the painted surface, but it is not mould-proof. If condensation remains on the ceiling after every shower, or the fan is not extracting moisture effectively, mould can still return.
Tougher paint for trims, doors and windows
Skirting boards, architraves, window frames and bathroom doors receive plenty of knocks, splashes and cleaning. A water-based enamel is often a good option for these areas because it creates a harder, more washable finish than standard wall paint.
Semi-gloss is commonly used on trims because it is durable and moisture resistant. It also makes profiles and details stand out. The trade-off is that shinier finishes reveal surface defects, so filling, sanding and careful application are essential.
The finish should suit the room, not just the look
The shiniest paint is not automatically the best bathroom paint. High-gloss and semi-gloss finishes shed water well and are easy to clean, but they show roller marks, patching and uneven plasterwork. In a bathroom with older walls, a lower-sheen bathroom acrylic may give a more even result while still providing reliable moisture resistance.
A separate toilet or powder room with no shower may not need the same coating system as a fully enclosed ensuite. Likewise, a large bathroom with an open window, effective extraction and plenty of airflow places less strain on paint than a compact room with no natural ventilation.
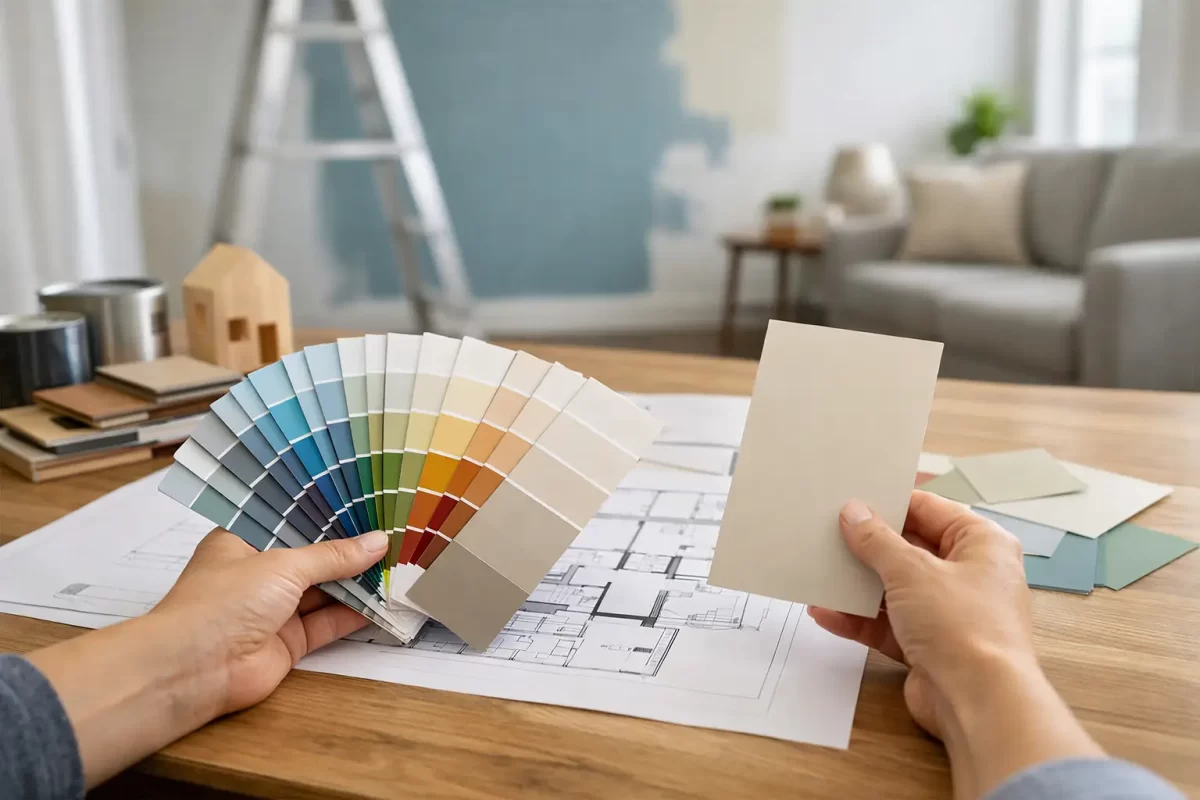
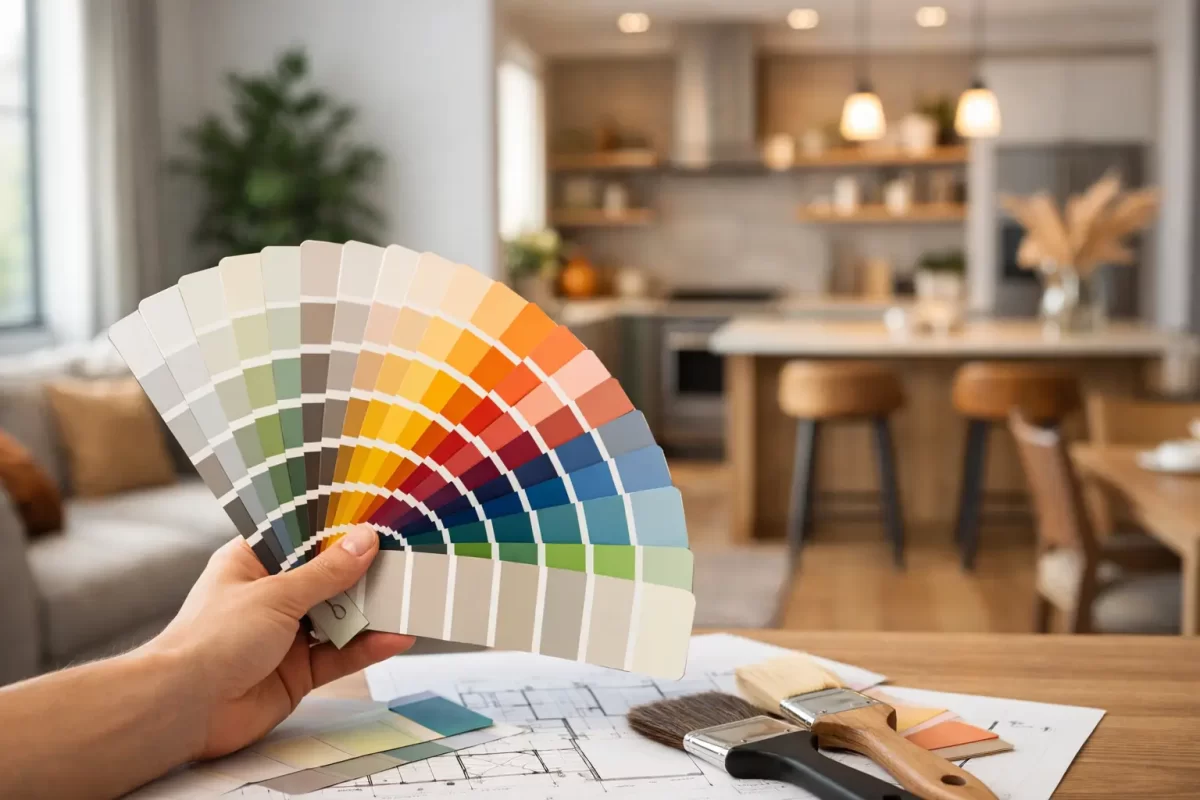
This is where practical colour and finish advice can save time. A deep colour in a high-sheen finish, for example, can make every wall imperfection more visible. A well-chosen low sheen may create a calmer finish without compromising cleanability.
Preparation is what stops paint peeling
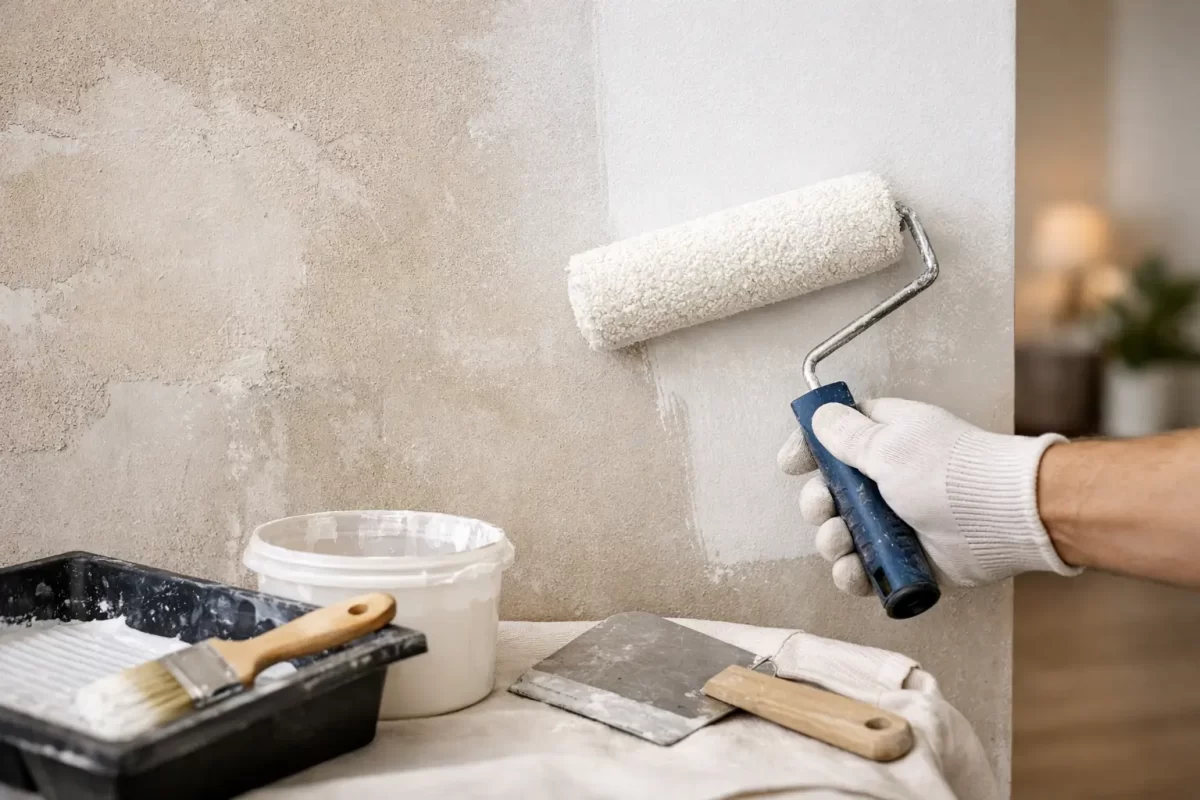
Even premium paint will fail if it is applied over soap residue, mould, loose paint or damp plaster. Preparing a humid bathroom properly takes longer than simply rolling a new colour over the walls, but it is the work that supports a lasting finish.
First, all mould needs to be cleaned and treated safely. The surface must then dry fully. Painting over mould, or painting while a ceiling is still damp from a leak or heavy condensation, traps the issue beneath the new coating.
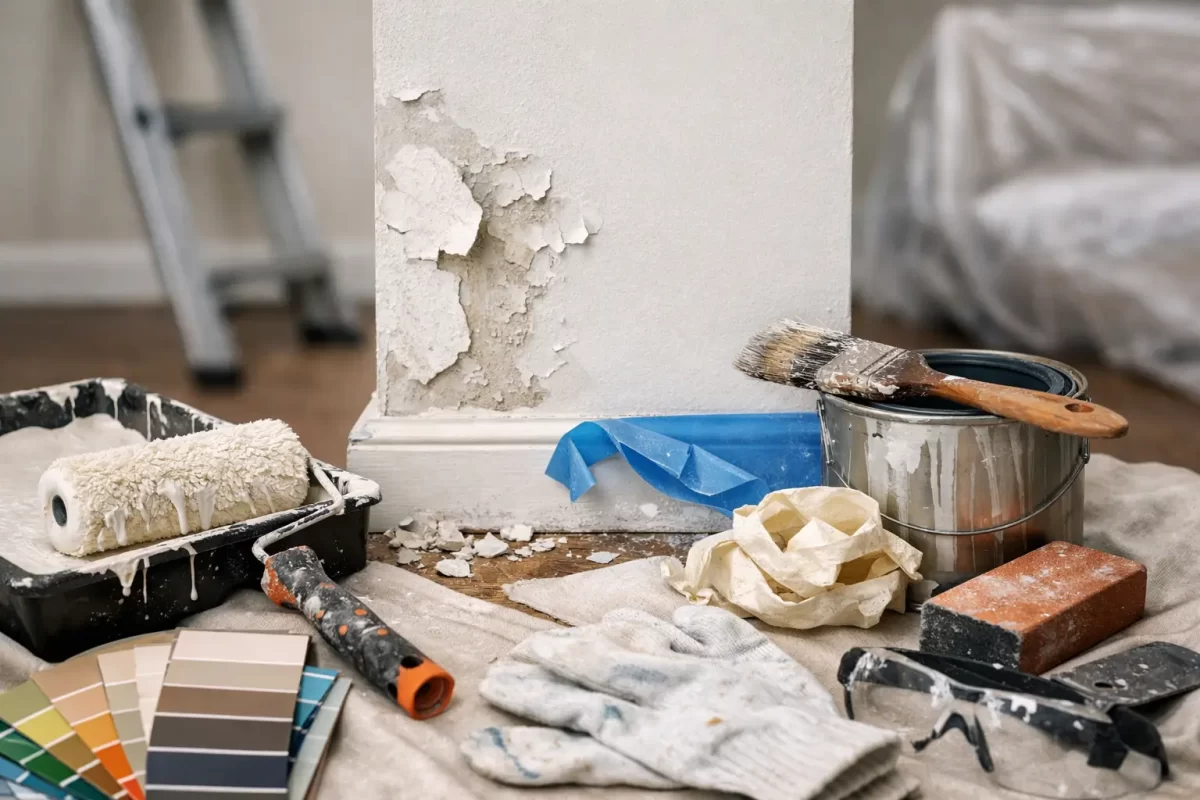
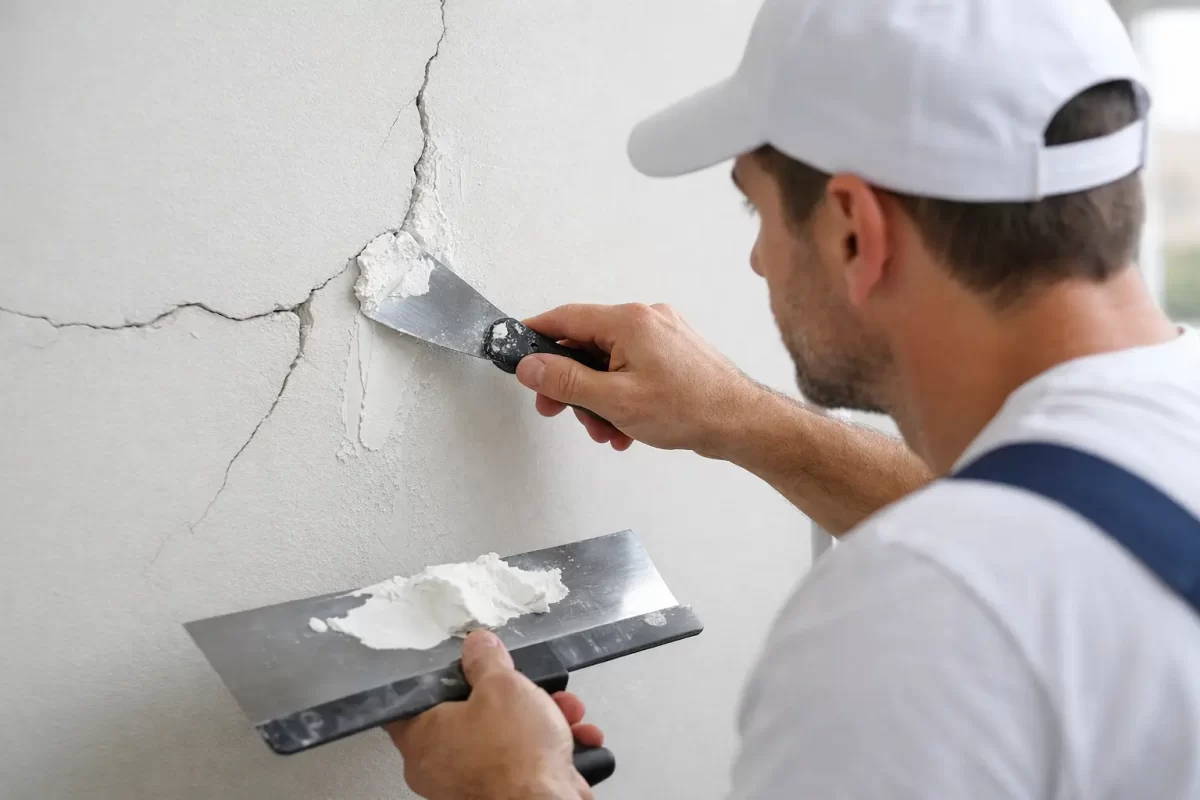
Loose and flaking paint should be scraped back to a sound edge, sanded smooth and repaired as needed. Cracks, dents and damaged plaster require suitable filling before sanding. Any gaps around trims, cornices or fixtures should be assessed and sealed with a flexible, paintable sealant where appropriate.
A suitable primer is also important when there are water stains, bare plaster repairs, significant colour changes or questionable existing coatings. Stain-blocking primers can prevent old water marks and tannins from bleeding through a fresh topcoat. Where a wall has a glossy or previously painted surface, cleaning and sanding for adhesion are often required before repainting.
Ventilation protects the new paintwork
The exhaust fan is one of the best investments in a bathroom finish. It should remove steam effectively and be run during showers and for a period afterwards. Opening a window or door when practical also helps the room dry out.
If mirrors and walls stay wet long after the shower is switched off, the bathroom has a moisture problem that paint alone cannot solve. Consider whether the fan is undersized, blocked with dust, poorly ducted or simply not being used long enough. In some homes, upgrading ventilation will do more for the life of the paint than moving from one premium product to another.
It also helps to wipe down areas that receive constant water splash and to check silicone joints around showers, baths and vanities. Failed silicone is a common entry point for water behind finishes, and that can lead to damage well beyond the paint surface.
Common mistakes to avoid
The quickest route to an early repaint is choosing paint by price alone. Budget coatings can be suitable in low-traffic areas, but bathrooms ask more of a paint film. A premium wet-area acrylic generally provides better coverage, washability and long-term resistance to humidity.
Another common mistake is using a single finish across every surface. Walls, ceilings and trim have different needs. Matching the right product and sheen to each area produces a more practical result and a cleaner-looking room.
Finally, avoid rushing the drying stages. Bathrooms need dry, clean surfaces before painting, and each coat needs its recommended drying time. Humid weather can slow curing, so good airflow and sensible scheduling make a real difference.
When to call a professional painter
A straightforward bathroom refresh can be manageable when the existing paint is sound and there are no moisture concerns. It is worth bringing in an experienced painter, however, when there is widespread peeling, mould staining, damaged plaster, recurring water marks or a need to coordinate repairs before painting.
Jag Painting Solutions can assess the condition of bathroom walls and ceilings, prepare damaged surfaces and recommend coating systems suited to the room. Professional preparation is particularly valuable in older homes and renovation projects, where hidden moisture issues or mixed existing coatings can affect the final finish.
A bathroom should feel clean and easy to maintain, not like another repair waiting to happen. Choose paint that is made for moisture, give the surface the preparation it needs and keep the room well ventilated. Those simple decisions will help your new finish stay sharp long after the last coat has dried.