

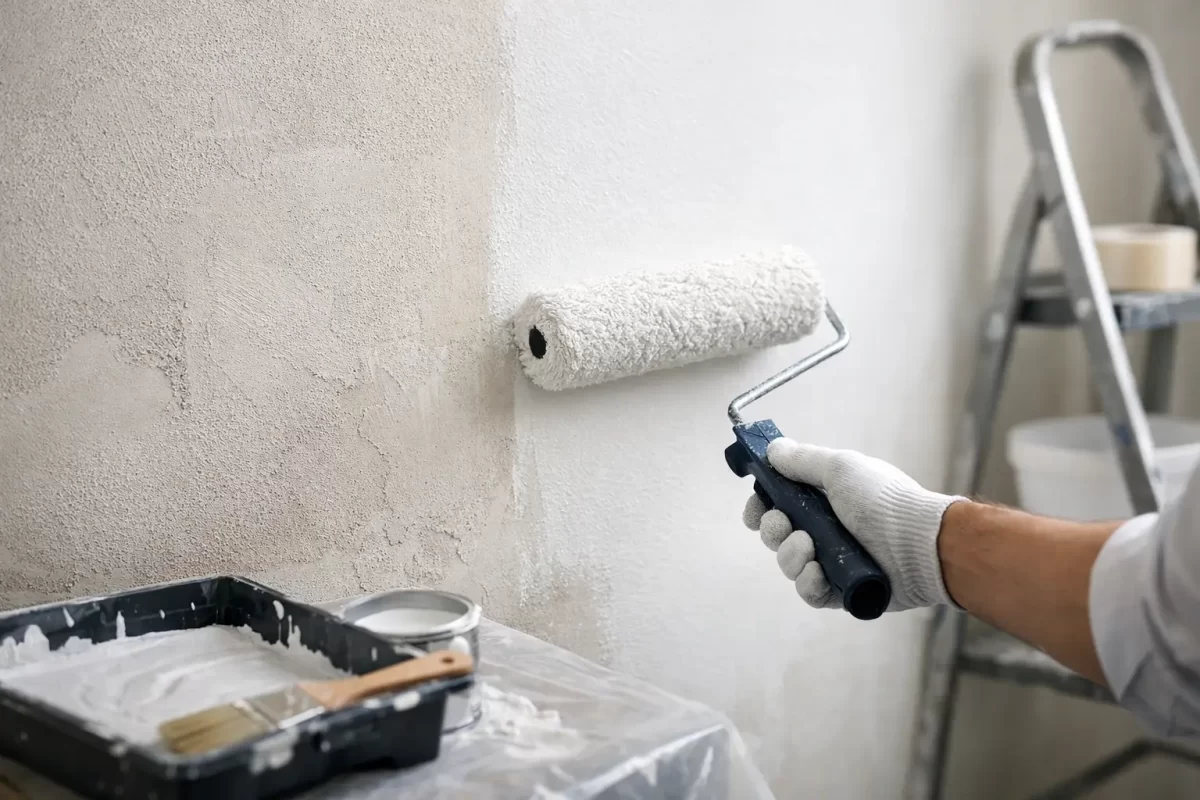
A freshly plastered wall can make a room feel brand new, but painting new plaster walls too soon is one of the quickest ways to compromise that clean finish. Paint may look acceptable on day one, then develop patchiness, peeling, staining or uneven sheen as moisture continues to leave the surface.
The best result comes from treating new plaster as a surface-finishing job, not simply a painting job. Allowing the wall to dry properly, preparing it carefully and using the right sealer gives your chosen colour the smooth, durable appearance it deserves.
Why new plaster needs special treatment
New plaster holds a significant amount of moisture after it has been applied. While the surface may feel dry to the touch, moisture can still be present below it. If paint is applied before the plaster has fully cured and dried, that trapped moisture can affect adhesion and cause paint films to fail.
Fresh plaster is also highly porous. Without a suitable primer or sealer, it can absorb paint unevenly. This often leaves visible dull patches, roller marks or areas with a different sheen, particularly when light falls across the wall from windows or downlights.
On the Gold Coast and in Tweed, humidity can slow drying times considerably. A wall that might dry quickly in a well-ventilated, low-humidity space can take longer during wet weather or in rooms with limited airflow. Rushing because a renovation schedule is tight usually creates more work later.
How long should plaster dry before painting?
There is no single number that suits every wall. As a practical guide, new plaster commonly needs at least one to two weeks to dry, but thicker plaster, poor ventilation and humid conditions can extend that timeframe. A newly repaired section may dry faster than a fully skimmed room, while solid plaster work can take longer again.
Look for a consistent pale colour across the plaster. Darker areas often indicate retained moisture. The wall should feel dry, firm and free from any cool or damp patches. If there is uncertainty, particularly on a larger renovation or commercial project, moisture testing is the safest way to confirm the surface is ready.
Heating a room aggressively is not always the answer. Very fast drying can contribute to cracking, while a combination of steady ventilation and sensible indoor temperatures is generally more effective. Open windows where practical, use fans to improve air movement and avoid creating excess moisture through drying clothes indoors or running steamy bathrooms nearby.
Preparing new plaster walls before paint
Good paint cannot hide poor preparation. Before primer goes near the wall, the plaster needs to be checked under proper lighting. Small trowel marks, ridges, pinholes and sanding scratches are far easier to address before the first coat than after the final coat has dried.
Light sanding removes minor imperfections and gives the surface an even feel. This should be done carefully. Over-sanding can damage the plaster face and create uneven areas that show through paint. Once sanding is complete, all dust must be removed with a vacuum and a clean, dry microfibre cloth. Dust left on the wall weakens paint adhesion and can leave a gritty finish.
Any cracks, dents or missed joints should be filled with a compatible stopping compound, allowed to dry and sanded smooth. Corners, window reveals, door frames and skirting boards should also be checked before painting starts. Masking and protecting floors, fittings and furniture properly is part of a professional job, especially in occupied homes where care for the space matters just as much as the finish.
Do not rely on a watered-down top coat
You may hear this called a mist coat. It is a common shortcut, but it is not the most reliable approach for every new plaster surface. Adding water to standard wall paint can reduce its binding performance and produce inconsistent coverage if the dilution is wrong.
A quality plaster sealer, primer or undercoat designed for porous surfaces is the safer option. The right product helps stabilise the plaster, improves adhesion and provides an even base for subsequent coats. The exact system depends on whether the wall is solid plaster, plasterboard with set joints, a repaired surface or a previously painted area blended into new work.
Choosing the right paint system
Most internal plaster walls need one preparatory coat followed by two finish coats. This produces better colour depth, more even sheen and a surface that stands up to day-to-day cleaning. One top coat can look fine initially, but it rarely provides the same consistency or durability.
The finish should suit the room. Low-sheen paint is a popular choice for living areas, bedrooms and hallways because it gives a soft appearance while being more washable than flat paint. In bathrooms, laundries and kitchens, moisture-resistant products are worth considering. Ceilings typically need a flatter finish to reduce reflected light and hide minor surface variation.
Colour also changes how plaster imperfections appear. Dark colours, strong whites and higher-sheen paints can highlight unevenness, especially on broad walls with side lighting. If the room receives strong afternoon sun or has large windows, careful preparation becomes even more critical. A colour consultation can help homeowners choose a shade and finish that works with the room, not against it.
Application matters as much as the paint
Even with the correct products, rushed application can spoil the result. Paint should be applied at the recommended spread rate, with a quality roller suited to the wall texture. Applying it too thinly can cause poor coverage. Applying it too heavily can lead to runs, slow drying and uneven texture.
Keeping a wet edge is particularly important on large walls. Work methodically from one section to the next so roller passes blend together before the paint starts to dry. Cutting in around ceilings, cornices, doors and windows should be completed neatly and at a pace that allows the wall area to be rolled without visible overlap.
Drying times between coats should be followed, not guessed. A coat can feel dry while still needing more time before the next layer is applied. Temperature, humidity and airflow all affect this. Allowing each coat to cure properly protects the appearance of the final finish and reduces the risk of marking during clean-up or furniture placement.
Common problems and what they usually mean
Patchy colour or varying sheen often points to uneven absorption, insufficient priming or inconsistent application. Peeling or flaking can indicate moisture, surface dust or a coating system that was not suitable for the plaster. Fine cracks may be normal settling in some new work, but wider or recurring cracks should be assessed before they are simply painted over.
Yellow or brown staining needs attention before repainting as well. It may come from water damage, timber tannins, rusting fixings or a previous issue behind the wall. Painting over a stain without identifying its source can mean it returns through the new finish.
For small repairs, a careful DIY approach can work well. Full rooms, high ceilings, detailed interiors and recently renovated homes are less forgiving. Professional painters bring the preparation standards, product knowledge and controlled application needed to keep the finish consistent from wall to wall.
When professional help is worthwhile
A professional painting team can inspect the condition of the plaster, identify areas that need additional stopping or sanding, and select a coating system suited to the room. This is particularly valuable when the plastering and painting are part of the same renovation, as responsibility for the finished surface remains clear from start to finish.
Jag Painting Solutions works with homeowners, renovators and businesses that want a well-prepared, clean and long-lasting result. A clear quote and practical advice before work begins can prevent costly shortcuts, whether the project is one room or an entire property.
Fresh plaster only gets one first paint job. Give it the drying time, preparation and coating system it needs, and the finished walls will look right long after the renovation dust has settled.


