

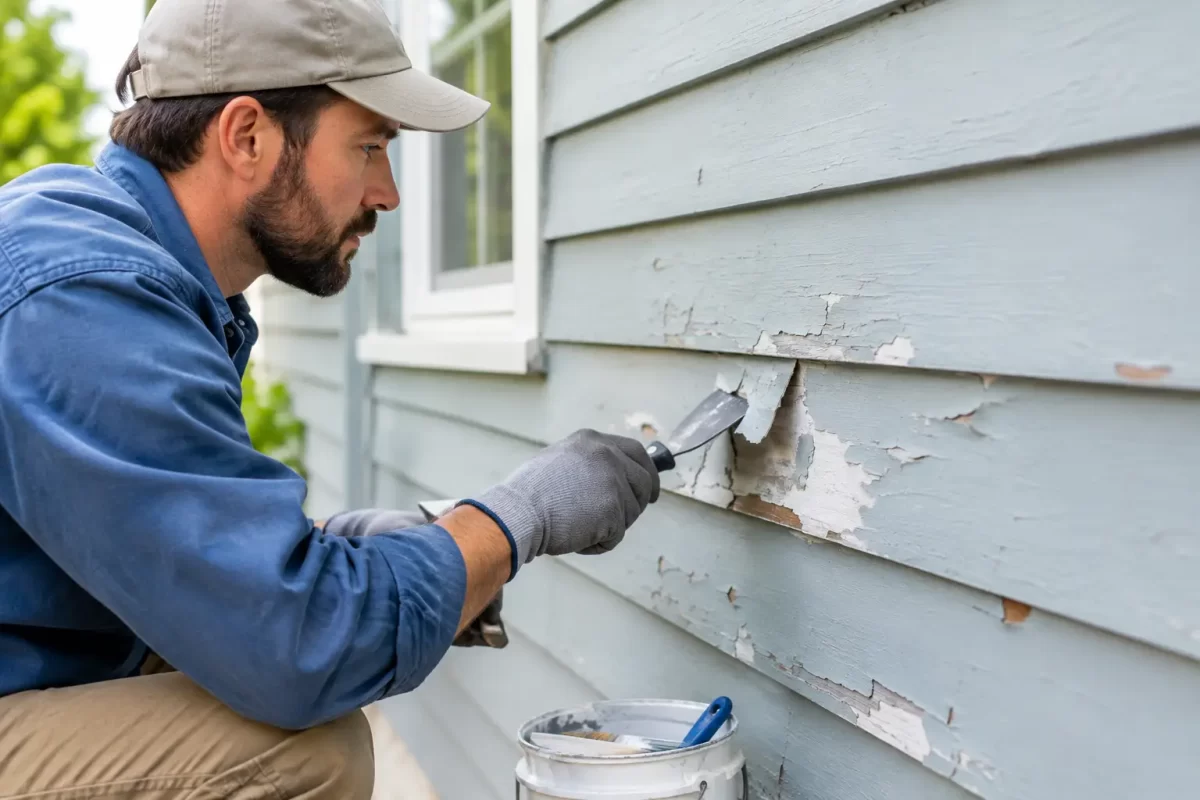
Peeling paint is more than a cosmetic issue. Once the coating lifts, flakes or bubbles, bare surfaces are exposed to sun, rain and moisture. To repair peeling exterior paint properly, the loose material must be removed and the reason it failed needs to be addressed before fresh paint goes on.
On Gold Coast and Tweed properties, harsh UV, humid conditions and wind-driven rain can all shorten the life of an exterior coating. A quick touch-up may make the problem less obvious for a while, but it will not hold if moisture, poor preparation or an incompatible previous coating is still underneath.
Why Exterior Paint Starts Peeling
Paint generally peels because it has lost adhesion to the surface below. Sometimes this is a straightforward age issue: exterior paint eventually breaks down after years of weather exposure. More often, though, peeling points to a preparation or moisture problem that needs closer attention.
Water is a common cause. Leaking gutters, cracked flashing, failed sealant around windows, overflowing downpipes and rising damp can introduce moisture behind or beneath the paint film. When the surface cannot dry properly, paint may blister first and then peel away.
Preparation also matters. Paint applied over chalky, dusty or dirty surfaces cannot form a reliable bond. The same applies when new paint is put over loose old paint, mould growth, glossy unprepared coatings or timber that has weathered badly. Using the wrong coating system can create a similar result, particularly where oil-based and water-based products have been layered without suitable primers.
Before planning repairs, look at the pattern of failure. Peeling concentrated around a window, roofline or gutter may indicate a local water entry point. Broad peeling across a sun-exposed wall can suggest an ageing or unsuitable coating system. That distinction affects the repair work required.
Inspect the Surface Before You Repair Peeling Exterior Paint
A careful inspection saves time and prevents repeat work. Start by checking whether the peeling is confined to a few small patches or spreading across whole elevations. Press gently around the affected area. If surrounding paint feels loose, hollow or brittle, the repair may need to extend further than the visibly damaged patch.
Look for these warning signs while inspecting the exterior:
- bubbling or soft paint, which can indicate trapped moisture
- black spotting, algae or mould, especially on shaded walls
- cracked render, open joints or failed caulking around windows and doors
- rust stains around fixings or metal components
- soft, split or rotten timber beneath the coating
Do not paint over active moisture damage. Fix the source first, whether that means repairing a leak, improving drainage, replacing damaged timber or resealing gaps. Exterior surfaces must be properly dry before preparation and painting begin. Dry-to-the-touch is not always enough after extended wet weather, especially with timber and masonry.
If the home is older and you are unsure of the age or type of coating, take extra care when sanding. Older paint may contain hazardous materials. Professional assessment and appropriate containment are the safer option where there is any doubt.
The Right Preparation Process
Good exterior painting is built on preparation. The visible painting stage may move quickly, but the work done beforehand determines how well the finish performs through changing weather.
Remove Every Loose Edge
Start by scraping back all peeling, flaking and poorly adhered paint. A paint scraper is useful for lifted areas, but do not stop at the first firm-looking edge. Continue until the remaining coating is sound and bonded to the surface.
The goal is not to strip every painted surface unnecessarily. Sound existing paint can often remain in place. However, the edge between bare substrate and old paint must be feathered by sanding so it does not show through the final finish or create a weak point for water to enter.
On timber, inspect closely for cracking, splitting and decay as you work. On rendered or masonry walls, check for loose render, powdery surfaces and hairline cracks. Damaged materials should be repaired rather than hidden beneath paint.
Clean the Surface Thoroughly
Exterior walls collect salt, dust, pollution, cobwebs, mould and chalking from old paint. These contaminants can stop primer and topcoats from bonding correctly.
Wash the area with a suitable exterior cleaner, treating mould and algae where needed. Pressure washing can be effective on some surfaces, but it needs care. Excessive pressure can drive water into joins, damage soft timber or loosen render and existing paint that would otherwise have remained sound. The surface must then be allowed to dry fully before the next stage.
Repair Cracks, Holes and Gaps
Use products suited to the substrate and location. Exterior-grade fillers can repair minor imperfections, while flexible sealant is generally needed around movement-prone gaps at windows, doors and trims. Cracks in render may need specialist repair, particularly if they are wide, recurring or linked to movement in the structure.
Avoid using interior filler outside. It is not designed to handle weather, moisture or expansion and contraction. A repair that looks neat on the day can fail quickly once exposed to heat and rain.
Prime Bare or Problem Areas
Primer provides the bridge between the prepared surface and the new coating. It is especially important over bare timber, exposed metal, patched render, chalky masonry and areas where the previous coating type is uncertain.
The right primer depends on the substrate. Bare timber needs a timber-specific exterior primer, while metal may require rust treatment and a metal primer. Masonry can need a sealer or primer designed to bind porous or powdery surfaces. This is one area where a generic approach can lead to poor adhesion and another peeling problem later.
Choose an Exterior Coating System That Suits the Surface
A quality exterior paint system needs to suit both the material and the conditions it will face. Timber moves with heat and humidity, so it needs a flexible coating that can move with it. Render and masonry benefit from breathable, weather-resistant coatings. Metal surfaces need protection against corrosion as well as UV exposure.
Colour choice also affects performance. Very dark colours can absorb significantly more heat, particularly on exposed walls, doors and timber cladding. They can look striking, but may increase movement and stress in some substrates. That does not make dark colours unsuitable, but it is worth discussing the surface, orientation and paint system before deciding.
Apply paint only in suitable conditions. Avoid painting when rain is expected within the product’s required drying time, when surfaces are hot from direct sun, or when humidity is high enough to slow curing. Follow the manufacturer’s recoat times rather than rushing the next coat. Two properly applied coats are usually needed for an even, durable exterior finish.
When a Small Repair Is Enough – and When It Is Not
A small repair can work well when peeling is isolated, the surrounding coating is stable and the underlying cause has been fixed. For example, a patch damaged by a leaking gutter may only require local preparation, priming and repainting once the gutter is repaired.
A broader repaint is often the better long-term value where peeling appears across multiple walls, large areas are chalky, or the existing coating is generally near the end of its service life. Repeated patching can leave visible variations in colour and sheen, and it may cost more over time than properly preparing and recoating the exterior as a whole.
There is also the question of access. High walls, steep sites, second-storey areas and complex rooflines create safety risks and make it harder to achieve thorough preparation. In these situations, professional equipment, surface assessment and a coordinated coating system matter as much as the final colour.
Protect Your Exterior Finish After Painting
A freshly painted exterior will last longer with basic maintenance. Keep gutters clear, direct water away from walls, trim plants back from cladding and wash down areas that collect dirt or salt. Check sealant, timber trims and vulnerable joins annually so small issues can be repaired before water reaches the paint film.
If peeling has returned after previous touch-ups, it is worth getting an experienced painter to identify the cause rather than applying another coat over the top. Jag Painting Solutions can assess exterior surfaces, carry out the required preparation and recommend a finish suited to your property. A well-prepared repair protects the building and gives the exterior the clean, durable result it deserves.


