

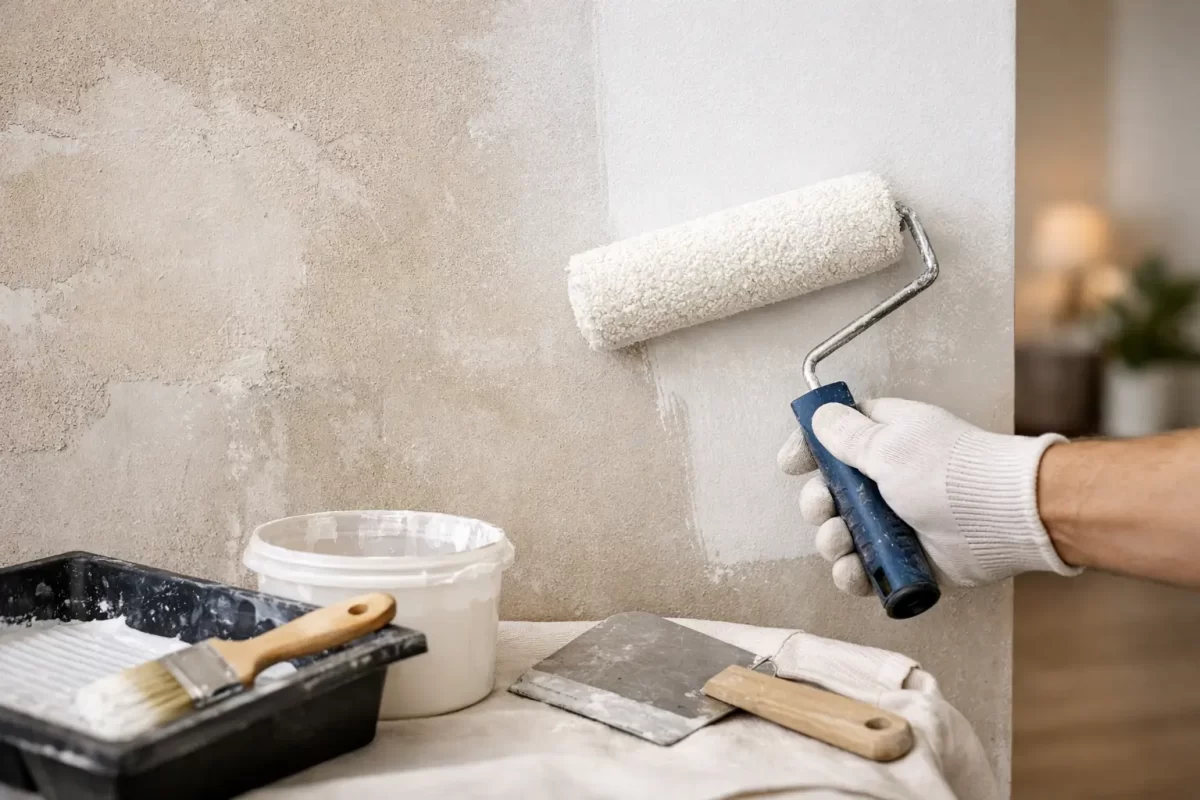
A newly repaired wall can look perfectly smooth, then turn patchy as soon as the first coat of paint dries. That is why homeowners often ask, does plaster need primer before painting? In most cases, yes. New, bare or repaired plaster should be sealed or primed before the top coats go on.
Primer is not simply an extra tin of paint. It helps manage the way a porous surface absorbs paint, improves adhesion and creates a more consistent base for your chosen colour. Skipping it can save a little time at the start, but it may leave you using more topcoat and still dealing with flashing, uneven sheen or visible repair areas.
Does plaster need primer before painting?
Bare plaster needs a suitable primer or sealer before painting. This applies to fresh plaster, plasterboard joint compound, skim-coated walls and most plaster repairs. These materials are absorbent, so they pull moisture from paint at different rates. Paint can dry too quickly in some areas and sit differently in others, even where the wall looks even beforehand.
The result is often called flashing. It appears as dull or shiny patches once light hits the painted wall from a window, downlight or nearby doorway. Darker colours and low-angle natural light tend to make the issue more noticeable, but it can happen with any colour or sheen level.
A quality plasterboard sealer or primer creates a uniform surface so the finish coats can build colour and sheen evenly. It also helps the painter see whether further filling and sanding are needed before the final coats are applied.
There are exceptions. If a wall has already been properly painted and is in sound condition, you usually do not need to prime the entire surface before repainting it. A thorough clean, light sand and the correct paint system may be enough. However, bare patches from repairs should still be spot-primed, and a full primer coat is often the better choice when there are numerous patches or large areas of new plaster.
Primer, sealer and undercoat are not always the same
These terms are often used interchangeably, but each product has a particular job. The label and the paint manufacturer’s directions should guide the choice.
A plasterboard sealer is designed for new or bare plasterboard and jointing compounds. It reduces suction and gives the topcoat an even base. For a standard new internal wall, this is commonly the right first coat.
A primer is generally used to promote adhesion on difficult or previously coated surfaces, such as glossy paint, metal, timber or surfaces with unknown coatings. Some products are both primer and sealer, which can be useful on mixed wall surfaces where old paint meets new repairs.
An undercoat builds opacity and helps prepare a surface for the selected topcoat colour. It may be used after sealing, especially where a dramatic colour change is planned, but it should not be assumed to replace a dedicated sealer on fresh plaster. Using the wrong product can lead to an uneven finish, even if the wall has received several coats.
For a typical interior plaster wall, the dependable sequence is to prepare the surface, apply the recommended sealer or primer-sealer, then apply two quality finish coats. This gives the paint system the best chance of looking consistent and standing up to day-to-day use.
Do not prime plaster before it is dry
Primer cannot correct damp plaster. Fresh plaster must be fully dry and properly cured before it is sealed and painted. Painting too early can trap moisture, which may cause poor adhesion, blistering, staining or peeling later on.
Drying time varies with the thickness of the plaster, ventilation, temperature and humidity. On the Gold Coast, warm conditions do not always mean walls are ready quickly. Humid weather, closed-up rooms and limited airflow can slow drying considerably. A wall should look consistently pale and dry, with no dark areas, before coating begins.
For larger plastering work, following the plaster product and paint manufacturer’s instructions matters. If there is any doubt about moisture, an experienced painter can assess the surface rather than relying on an arbitrary number of days. Starting a painting job at the right time is far less costly than rectifying a failed finish.
When spot priming is enough
Spot priming can be suitable for small, isolated repairs. For example, a few screw holes filled before repainting, a small dent repaired after moving furniture, or a minor crack that has been properly opened, filled and sanded. Prime the bare repaired area, allow it to dry, then inspect it from different angles before applying the finish coats.
The trade-off is that spot priming can still show through on walls with sheen paint, strong sunlight or a dark colour. If the repair is broad, there are multiple repairs across the room, or the existing paint is worn and uneven, sealing the whole wall is usually the safer option. It takes more preparation, but it avoids the risk of seeing every repair after the room is finished.
Ceilings deserve particular care. Their broad, flat surfaces catch light differently, and a patchy sealer application may become obvious once ceiling paint dries. Full sealing is commonly the best approach after extensive ceiling repairs or new plasterboard work.
Surface preparation matters as much as primer
A primer will only perform well if the plaster is properly prepared. The wall needs to be dry, clean, sound and free from loose dust. Sanding dust is one of the most common causes of poor coating adhesion, particularly around plasterboard joints and repairs.
After sanding, remove dust carefully with a vacuum and a clean, dry microfibre cloth. Do not soak bare plaster with water. Check the wall with a work light or by looking along its surface from the side. This reveals ridges, pinholes and sanding marks that are easy to miss when standing directly in front of the wall.
Any cracks should be assessed before painting. A fine, stable surface crack may only need flexible filling and preparation. Recurring cracks, movement around door frames, water damage or soft plaster can indicate a larger issue. Covering these problems with primer and paint may improve the appearance briefly, but it will not fix the cause.
Stains also need their own treatment. Water marks, nicotine, tannin bleed and smoke residue can migrate through ordinary water-based paint. In these situations, a stain-blocking primer may be required before the standard paint system. The source of a water stain must be fixed first, otherwise even the best coating can fail.
Choosing the right finish for the room
The primer should suit both the substrate and the finish coat. For most internal plaster walls, a low-sheen acrylic wall paint is a practical choice. It offers a soft appearance while being easier to clean than a flat finish. Flat paint can suit ceilings and low-traffic spaces, but it is less forgiving when walls need regular wiping.
In hallways, family rooms, kitchens, offices and rental properties, durability and washability are often worth considering alongside colour. The gloss level also affects how visible wall imperfections will be. Higher sheen reflects more light and can highlight uneven plasterwork, so careful preparation becomes even more important.
Colour selection has a role here too. Strong colours, deep blues, charcoals and bright whites can demand more precise coverage than softer mid-tones. A properly sealed surface helps the colour develop evenly and reduces the chance that repairs will become visible once the paint dries.
A professional finish starts below the paint
It is tempting to treat primer as optional, especially when the wall already looks clean and smooth. But plaster preparation is where a lasting finish is won or lost. The right sealer, adequate drying time and careful sanding provide the base for paint that looks even in daylight, holds up to daily life and presents the property well.
For renovations, new rooms or widespread wall repairs, Jag Painting Solutions can assess the plaster condition and recommend a paint system that suits the surface and the space. A clear scope of work and a professional finish help take the uncertainty out of the job, so you can enjoy the new look rather than notice the patches.


