

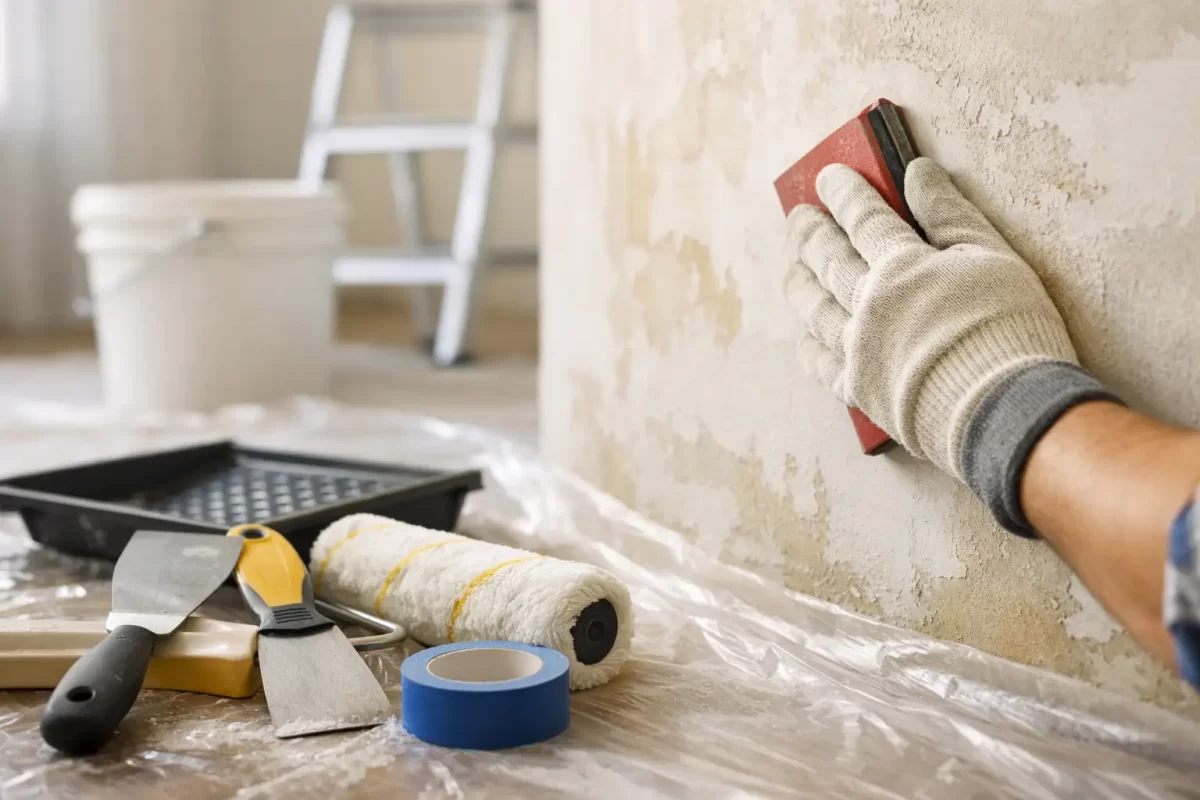
A fresh coat of paint cannot hide a surface that is dirty, loose, damp or damaged for long. It may look acceptable on the day, then begin peeling, blistering or showing uneven patches within months. This surface preparation for repainting guide explains the work that gives a paint job its clean appearance and lasting performance.
For homeowners, renovators and business owners, preparation is often the difference between a quick cosmetic refresh and a finish that properly protects the property. The right approach depends on the surface, its condition, the room or exposure level, and the coating already in place.
Why preparation matters before repainting
Paint needs a sound, clean and stable surface to bond to. If there is chalky old paint, cooking grease, mould, dust, flaking coatings or moisture behind a wall, applying more paint simply covers the problem temporarily.
Good preparation also affects the final look. Small dents, plaster joins and sanding scratches become more noticeable once light hits a newly painted wall, particularly with low-sheen or semi-gloss finishes. On exterior surfaces, preparation helps coatings withstand the Gold Coast’s sun, humidity, salt air in coastal areas and heavy summer rain.
There is a practical balance to strike. Not every wall needs to be stripped back completely, and over-preparing a sound surface can add unnecessary time and cost. An experienced painter assesses what is there, identifies the cause of any failure, and prepares only as far as required for a reliable result.
Start with a close inspection
Before washing or sanding, inspect each area in good natural light where possible. Look for peeling paint, hairline cracks, rust stains, water marks, mould, powdery residue, bubbling, dents, movement around plasterboard joints, and gaps at trims or windows.
The condition of the existing coating is a useful guide. Run a hand over the surface. If it leaves a dusty film, it may be chalking and needs thorough cleaning and suitable sealing. Press lightly on suspicious paint edges. If paint lifts easily, loose material must be removed until the remaining coating is firmly bonded.
Water staining deserves extra attention. A stain on a ceiling or wall is not just a painting issue if the source is still active. Roof leaks, plumbing faults, failed waterproofing or condensation should be resolved first. Painting over moisture can lead to fresh damage and a wasted repaint.
For commercial properties, inspection should also consider traffic and use. Scuffs around corridors, greasy kitchen-adjacent walls, hand marks near doors and damaged skirting boards may need different cleaning and repair methods than a lightly used office wall.
Clean the surface properly
Cleaning is not an optional quick wipe. Paint struggles to adhere to contaminants that may be invisible, including household oils, sunscreen residue, smoke film and airborne grime.
Interior walls are commonly washed with a suitable sugar soap solution or mild cleaning product, following the manufacturer’s directions. Pay close attention to kitchens, bathrooms, laundries, entry areas and walls near switches. Rinse where required, then allow the surface to dry fully before proceeding.
Exterior cleaning removes dust, cobwebs, dirt, mould and loose chalking paint. Pressure washing can be effective, but it must be used carefully. Excessive pressure can force water into cladding, eaves or wall cavities, damage timber fibres, or lift paint that was otherwise sound. Soft washing and hand cleaning are sometimes the better choice, especially around older surfaces and detailed trim.
Mould should be treated, not merely painted over. Use an appropriate mould treatment, rinse as directed and allow time for complete drying. If mould keeps returning, investigate the underlying ventilation, drainage or moisture problem rather than relying on a mould-resistant paint alone.
Remove failed paint and create a sound edge
Loose, cracked and flaking paint has to come off. Scrapers, sanding tools and careful hand preparation are used to remove failed sections without damaging the surface beneath. The goal is not to make every old coating disappear. It is to leave a stable base with no weak edges that can continue lifting under the new system.
Once loose paint is removed, feather the surrounding edges by sanding. This softens the transition from bare areas to intact paint so the repaired section does not show as a ridge through the final coats. On weatherboards, doors and trims, this step makes a noticeable difference to the finished appearance.
Older homes may contain lead-based paint. If a property was built before the mid-1970s or its paint history is uncertain, avoid dry sanding or creating dust until the coating has been assessed. Lead paint requires controlled preparation methods to protect occupants, workers and neighbouring properties.
Repair cracks, holes and surface defects
A quality repaint includes repairing the defects that paint will highlight. Small nail holes and minor dents can be filled, sanded smooth and spot-primed. Wider cracks need closer assessment because the right repair depends on why they formed.
Hairline cracking in plaster may be a minor surface issue. Repeated cracking at plasterboard joints, around doors or near windows can indicate movement, poor previous repairs or moisture. Flexible compounds, joint repairs or plastering work may be needed before painting. Simply filling a moving crack with a rigid product often leads to the same line returning.
Timber requires its own preparation. Check for rot, open joints, failed putty, split boards and exposed end grain. Decayed timber should be repaired or replaced before coating. Painting over soft, wet or damaged timber does not restore its strength, and the finish will fail prematurely.
Metal surfaces should be checked for rust. Remove loose corrosion, prepare the affected area to a sound surface and apply a compatible rust-inhibiting primer. The primer matters because ordinary wall paint is not designed to stop corrosion.
Sand for adhesion and an even finish
Sanding does two jobs: it smooths repaired areas and gives glossy or hard existing coatings enough texture for the next coat to grip. The aim is a clean, even key, not deep scratches or aggressive removal of sound paint.
A previously painted wall with a flat finish may only need light sanding around repairs. Glossy enamel on doors, skirting boards or metalwork usually needs more thorough abrasion and a suitable primer. Sanding dust must then be removed completely with vacuuming, wiping or dusting methods suited to the surface. Dust left behind can create a rough finish and reduce adhesion.
This is one area where patience pays off. A wall can look smooth before painting but still reveal sanding marks after the first coat, especially when sunlight comes through a window at an angle.
Prime bare areas and problem surfaces
Primer is not automatically required on every repaint, but it is essential in the right places. Bare plaster, exposed timber, repaired patches, stained areas, rust-treated metal and surfaces with adhesion concerns all benefit from a compatible primer or sealer.
Spot-priming small repairs is often enough for a sound interior wall. Full priming may be the better option when changing from a very dark colour to a light one, coating a porous surface, repainting a heavily repaired room or dealing with widespread chalking. It can improve colour consistency and reduce the number of finish coats required.
Stains from water, nicotine, tannin or rust may bleed through ordinary paint. A stain-blocking primer is designed to isolate these marks, but it should only be applied after the original cause has been addressed.
Always use products that work together. Mixing incompatible primers and topcoats can cause adhesion issues, wrinkling or poor durability. The chosen system should also suit the setting, whether it is a humid bathroom, sun-exposed exterior wall, rental property hallway or commercial workspace.
Allow for drying conditions
Preparation is not complete until the surface is dry, clean and ready to coat. This matters greatly in humid weather. A wall that feels dry on the surface may still hold moisture after washing, rain or a leak. Painting too soon can trap moisture and lead to blistering or peeling.
Exterior work should be planned around weather conditions, including rain, temperature and humidity. Interior areas may need ventilation, fans or time between cleaning, filling, priming and painting. Rushing these stages can compromise work that otherwise looks well prepared.
For a repaint that feels properly finished, preparation deserves the same care as the final coat. If your Gold Coast or Tweed property has peeling paint, damaged plaster, staining or exterior wear, Jag Painting Solutions can assess the surface and provide a clear, obligation-free quote before work begins.


