

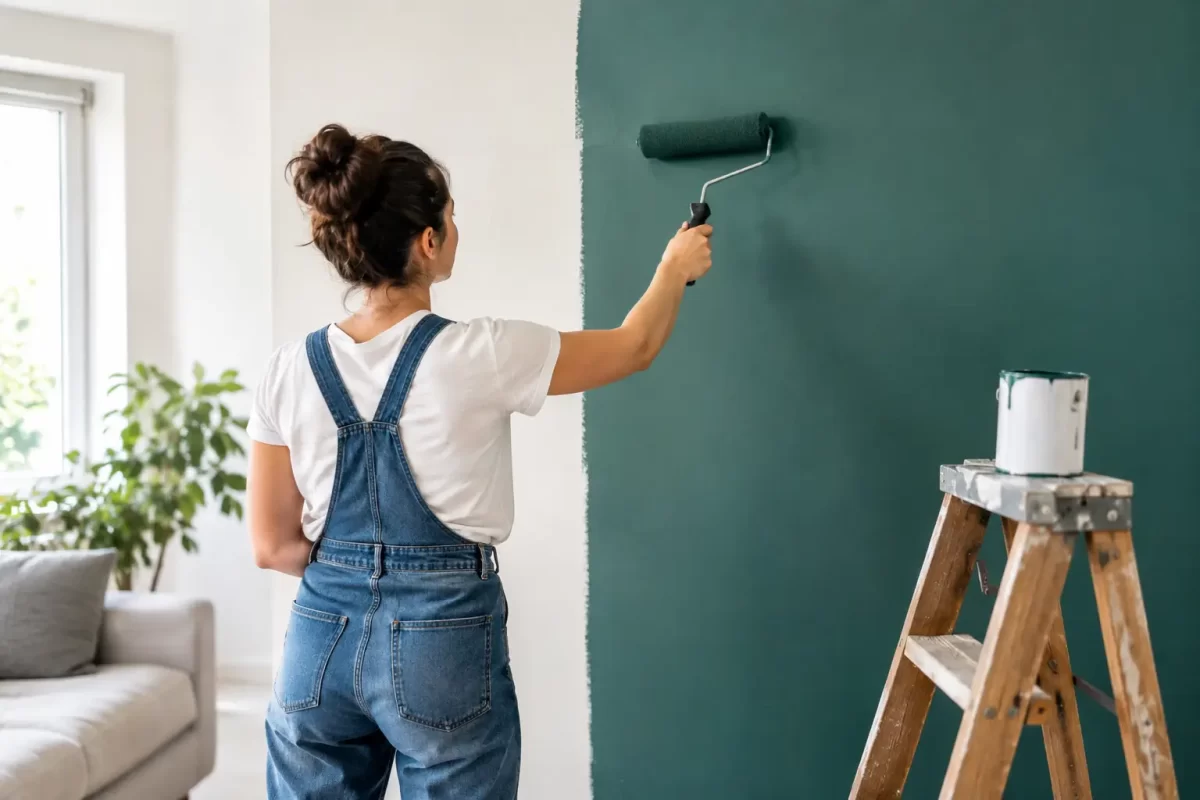
A feature wall can make a room feel more considered without the cost or disruption of a full renovation. Knowing how to paint feature walls properly is what separates a sharp, confident result from patchy coverage, uneven edges and a colour that feels out of place once the furniture goes back in.
The best feature walls are not chosen at random. They work with the room’s natural light, proportions and existing finishes, then are prepared and painted with the same care as any high-visibility surface. Because the wall draws the eye, small defects and rushed cut-in lines are far more noticeable than they would be on a standard wall.
Choose the right wall before choosing the colour
Start with the wall you naturally see when entering the room, such as the wall behind a bed, sofa, dining setting or reception desk. In many rooms, this gives the colour a clear purpose and makes the space feel anchored.
Avoid making a feature of a wall that is broken up by several doors, windows or built-in cupboards unless the design calls for it. A large, mostly uninterrupted wall will usually deliver the cleanest effect. In a narrow room, painting the shorter end wall a deeper colour can make it feel less tunnel-like. In a generous open-plan area, a feature wall can help define a living or dining zone.
Colour needs to be assessed in the actual room, not just on a paint chart. Gold Coast homes often receive strong natural light, and a shade that looks soft in a showroom can appear much brighter or cooler at home. Paint a generous sample area, then check it in the morning, afternoon and under artificial lighting at night. Consider adjoining rooms too, particularly where there is no door separating the spaces.
How to paint feature walls with a colour that lasts
A deeper tone is a popular choice, but it is not the only option. Muted greens, warm clay shades, soft blue-greys and rich charcoals can all work well when they suit the flooring, cabinetry, window furnishings and lighting. The goal is contrast with balance, not a wall that competes with every other finish in the room.
For most interior feature walls, a quality low-sheen acrylic paint is a practical choice. It offers a refined finish, is generally washable and is more forgiving than high-gloss products. Flat or matte paints can look elegant, but they may mark more easily in busy areas. In hallways, children’s rooms, commercial spaces or behind dining settings, durability and cleanability deserve extra consideration.
If you are changing from a dark colour to a light one, or applying a strong colour over a pale surface, allow for additional coats. Some deep reds, yellows and blues have lower hiding power and may need a tinted undercoat or a third finish coat for even depth. The correct system is worth discussing before work begins, rather than trying to make a thin coat cover more than it can.
Preparation is where a quality finish starts
Move furniture away from the wall and cover floors properly before opening a tin of paint. Remove switch plates where safe to do so, or carefully mask around them. Take down artwork, blinds or wall-mounted accessories that could interrupt the work.
Next, inspect the wall in good light. Fill nail holes, dents and minor cracks with a suitable filler, allow it to dry, then sand it smooth. Feather the edges of old repairs so they do not show through the new paint. Any flaking paint must be scraped back, and glossy surfaces should be lightly sanded to provide a sound surface for adhesion.
Wipe away sanding dust and clean marks, grease or residue with an appropriate sugar soap solution. This step matters in kitchens, near light switches and on walls that have been handled often. Paint adheres best to a clean, dry, stable surface.
Fresh plaster repairs and bare areas should be sealed or primed as required. Skipping this can lead to flashing, where repaired spots absorb paint differently and remain visible after the wall appears dry. If there are water stains, mould, recurring cracks or widespread peeling, address the underlying issue first. A new coat of paint will not solve moisture movement or failing plaster.
Get straight edges without relying on luck
Masking tape can help protect skirting boards, architraves and adjoining walls, but it does not replace careful preparation. Press quality painter’s tape down firmly along the edge so paint cannot creep underneath. Do not stretch it as you apply it, as this can cause it to lift.
For the sharpest line where the feature colour meets a different wall colour, experienced painters often cut in by hand with a quality angled brush. This creates a more precise edge than tape alone on textured walls or uneven corners. If you are using tape, remove it carefully while the final coat is still slightly wet or tacky. Leaving tape until paint has fully hardened can cause the new paint film to tear.
Use a small brush to cut in around ceilings, corners, trims and fittings first. Work in manageable lengths, maintaining a wet edge so the brushed section blends with the rolled paint. Do not overload the brush. Too much paint is more likely to run, build up along edges and leave visible ridges.
Apply paint evenly from top to bottom
Stir the paint thoroughly before starting and occasionally during the job, especially with deeper colours. Pour only what you need into a roller tray and use a roller sleeve suited to the wall texture. A medium nap sleeve is often appropriate for standard plasterboard walls, while a rougher surface may require a longer nap.
After cutting in, roll the main area in sections. Begin near the top and work down, applying paint in a loose W or M pattern before spreading it evenly. Finish each section with gentle, consistent strokes in the same direction. This helps reduce roller marks and keeps the sheen uniform.
Do not stretch the paint too far. A roller should be loaded enough to cover properly without dripping, and the wall should look evenly wet as you complete each section. Work quickly enough to maintain a wet edge, particularly on warm days when paint can dry faster. Avoid stopping halfway across a broad wall if possible, as lap marks can form where one area begins drying before the next is blended into it.
Allow the first coat to dry for the manufacturer’s recommended time. Check it from different angles before applying the second coat. Thin spots, dull patches and missed areas are easier to correct now than after furniture has been returned. Two coats are standard for a solid, professional appearance, although colour changes and surface conditions can require more.
Common feature wall mistakes to avoid
The most common mistake is choosing a colour based solely on a tiny sample card. Another is rushing the prep work because the wall is small. A feature wall may take less paint than a whole room, but it is not a shortcut job. Every imperfection is concentrated in one focal area.
Using poor-quality tools can also undermine good paint. A shedding roller sleeve, worn brush or low-tack tape that lifts mid-job creates unnecessary rework. It is also tempting to apply a heavy coat to finish faster, yet thick paint is more likely to sag, dry unevenly and leave texture differences.
Be mindful of the finish level too. Dark colours and higher sheens reveal uneven plaster, dents and roller marks more readily. If the wall has significant imperfections, it may need additional plastering and sanding before painting. This is often the difference between a wall that looks impressive in daylight and one that only looks acceptable from across the room.
When professional help makes sense
A DIY feature wall can be a satisfying weekend project when the surface is sound and the room has straightforward edges. Professional painting is often the better choice where there are high ceilings, detailed trims, difficult plaster repairs, strong colour changes or a finish that needs to match the standard of a renovation or business fit-out.
An experienced painter can also provide practical colour guidance, recommend the right products for the surface and manage preparation, protection and clean-up properly. For property owners who want a crisp finish without living around drop sheets and paint tins, Jag Painting Solutions can assess the wall and provide a clear, obligation-free quote.
A well-painted feature wall should look intentional from every angle, not merely colourful. Take the time to test the shade, prepare the surface and apply each coat carefully, and the room will feel refreshed long after the paint has dried.


