

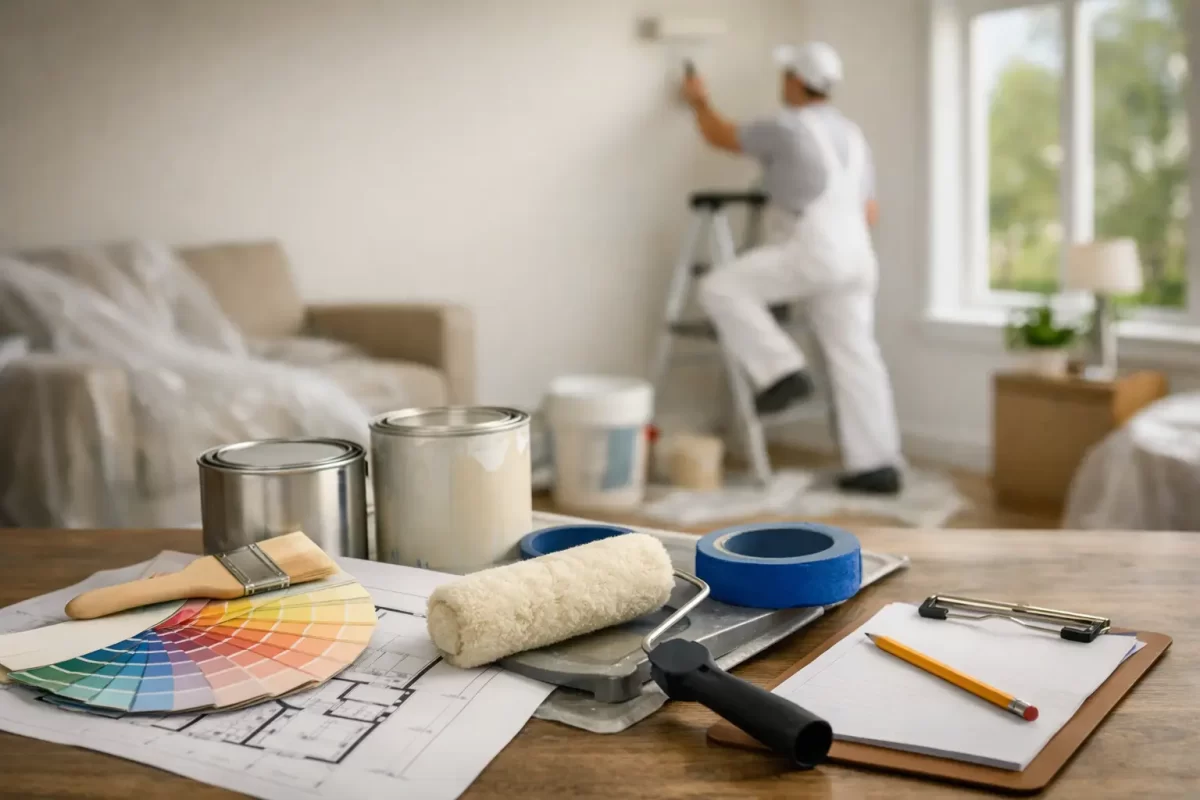
A fresh coat of paint can make a tired room feel new, lift street appeal and protect exposed surfaces. But the finish is decided well before the first brush touches a wall. This residential painting project planning guide helps homeowners set clear expectations, avoid preventable delays and organise a painting job that looks right for years, not just on day one.
Whether you are refreshing one bedroom, preparing a property for sale or repainting an entire home, good planning gives your painter the information needed to quote accurately and deliver a consistent result.
Start with the result you want
Before discussing paint brands or colour cards, decide what the project needs to achieve. You may want a cleaner, more modern interior, better protection for weathered exterior timber, or a coordinated finish after plaster repairs or renovations. Those goals influence the preparation required, the coating system and the timing of the work.
Walk through the property and make notes room by room. Be specific about what is included and what is not. For example, repainting walls only is a very different scope from walls, ceilings, doors, trims, window frames and built-in cabinetry. The same applies outside, where eaves, fascias, fences, decks and rendered walls may each need a different approach.
A useful scope should cover these areas:
- Rooms and exterior surfaces to be painted
- Ceilings, walls, trims, doors and other fixtures included
- Cracks, dents, peeling paint or water damage needing repair
- Any plastering or patching required before painting
- Access issues, such as high walls, stairwells or tight side paths
- The preferred completion date and any fixed events around it
Photos are helpful when requesting a quote, particularly for exterior work or areas with obvious damage. They give a painter a clearer starting point, although an on-site inspection is still the best way to assess surface condition, access and preparation needs.
Plan surface repairs before choosing paint
Painting does not hide every problem. In fact, fresh paint can make uneven plastering, poor previous repairs and rough patches more noticeable, especially under strong natural light. Preparation is where much of the workmanship sits.
Look closely at walls in the morning or late afternoon, when angled light reveals imperfections. Mark cracks, nail pops, dents and stains with low-tack tape so they can be assessed during the quote. If you have had a leak, do not assume stain-blocking paint alone will fix it. The moisture source must be resolved first, then the affected area allowed to dry properly before repair and coating.
Exterior surfaces deserve the same attention. Flaking paint, chalky render, mildew and failing sealant need treatment before new paint is applied. On the Gold Coast and in Tweed, sun, humidity and coastal exposure can be demanding on exterior finishes. The right preparation and suitable exterior coating matter more than simply applying another layer over a worn surface.
There is a trade-off to consider here. A quick repaint may suit a short-term presentation goal, while a long-term renovation usually calls for more detailed repairs, sanding, priming and sealing. A professional painter should explain the difference clearly, including how each option is likely to perform.
Choose colours in the actual space
A colour that looks warm and calm on a small sample card can appear much cooler, darker or brighter across a full wall. Light direction, existing flooring, cabinetry, window coverings and surrounding exterior materials all change how colour reads.
Start by considering fixed features you are keeping. Timber floors, stone benchtops, tiles, roofing and brickwork often provide the best cues for a workable palette. Then think about the mood and practical use of each space. Lighter colours can help smaller rooms feel more open, while deeper tones can create definition in larger rooms or selected feature areas.
Test sample colours on larger boards or small painted sections and view them at different times of day. Do not choose under showroom lighting alone. For exterior colours, check samples in direct sun and shade, as bright Queensland light can make a colour look substantially lighter than expected.
Sheen level is just as important as colour. Low-sheen finishes are popular for interior walls because they provide a soft appearance while remaining reasonably practical to clean. Higher sheen paints can be more durable for trims and doors, but they also highlight surface imperfections. Ceilings generally need a flat finish to reduce reflected light and help conceal minor unevenness.
If choosing colours feels uncertain, arrange colour consultation before work begins. It is far easier to make confident decisions at the planning stage than to change direction once multiple rooms have been coated.
Build a realistic schedule around the work
Painting is not simply a one-day job of rolling colour onto walls. Cleaning, repairs, sanding, priming, drying and recoating all take time. The size of the home matters, but so do the existing surfaces and the level of detail required.
Ask your painter how the work will be staged. A well-organised interior project may be completed room by room so parts of the home remain usable. For a full renovation, it can be more efficient to schedule painting after messy building work, electrical changes and major carpentry are complete, but before final furniture is moved in.
Exterior schedules need flexibility for weather. Rain, high humidity and very hot conditions can affect drying and application. Rushing work between unsuitable weather windows can compromise the finish, so allow contingency time rather than booking removalists, tenants or an event immediately after the planned completion date.
Also consider the order of trades. Plastering should be completed and dry before painting starts. New timber may need filling, sanding and priming. Flooring and cabinetry installation can affect wall access. Clear coordination prevents one trade from damaging another’s finished work.
Prepare your home for a respectful, efficient job
A professional team will protect floors, furniture and nearby surfaces, but homeowners can make the process smoother by clearing smaller items before work begins. Remove artwork, fragile décor, wall-mounted accessories where practical and personal belongings from work areas. Shift furniture towards the centre of the room or into another space if agreed with your painter.
Talk through access arrangements before the start date. Confirm where vehicles can park, which entry will be used, whether pets need to be secured and how the team should manage alarms or gates. If anyone works from home, discuss noise, room access and the best times for sanding or other disruptive preparation.
For exterior work, clear pot plants, outdoor furniture and children’s equipment away from walls where possible. Trim vegetation that is pressing against painted surfaces. This gives painters safe access and helps the finished coating perform properly by reducing trapped moisture and abrasion.
Compare quotes on preparation, not price alone
A lower price can be appealing, but it is only meaningful when you understand what is included. Two quotes for the same home can differ because one allows for extensive preparation and premium products while another assumes minimal repairs and fewer coats.
Ask for a clear written scope that identifies surfaces, preparation, coating system and exclusions. If there are areas of concern, such as extensive cracking or timber rot, ask whether they are included in the price or subject to further assessment. This avoids surprises once work is underway.
It is also reasonable to ask who will complete the work, how the site will be protected, and how touch-ups or concerns will be handled at completion. Dependable painters communicate early if they uncover an issue that changes the scope. That conversation is a sign of care, not inconvenience.
Jag Painting Solutions approaches painting as a complete finishing service, with attention to surface preparation, plaster repairs and colour guidance as well as the final coat. For homeowners, that coordinated approach can reduce the risk of gaps between trades and inconsistent finishes.
Confirm the final details before work starts
A short pre-start conversation helps everyone begin on the same page. Confirm the selected colours and sheen levels, the rooms or surfaces included, access times, parking, protection requirements and expected project duration. If you are supplying paint yourself, confirm the exact product, quantity and tint details in writing to avoid mistakes.
Keep one person as the main contact where possible. Questions can then be answered quickly, particularly if a hidden repair or colour decision arises during the job. At the end, inspect the work in good natural light with your painter and note any agreed touch-ups before equipment is packed away.
The best painting projects feel organised because the important decisions were made early. Take the time to define the scope, inspect the surfaces and choose colours in your own light, then work with experienced tradespeople who treat your home with the care it deserves.


