

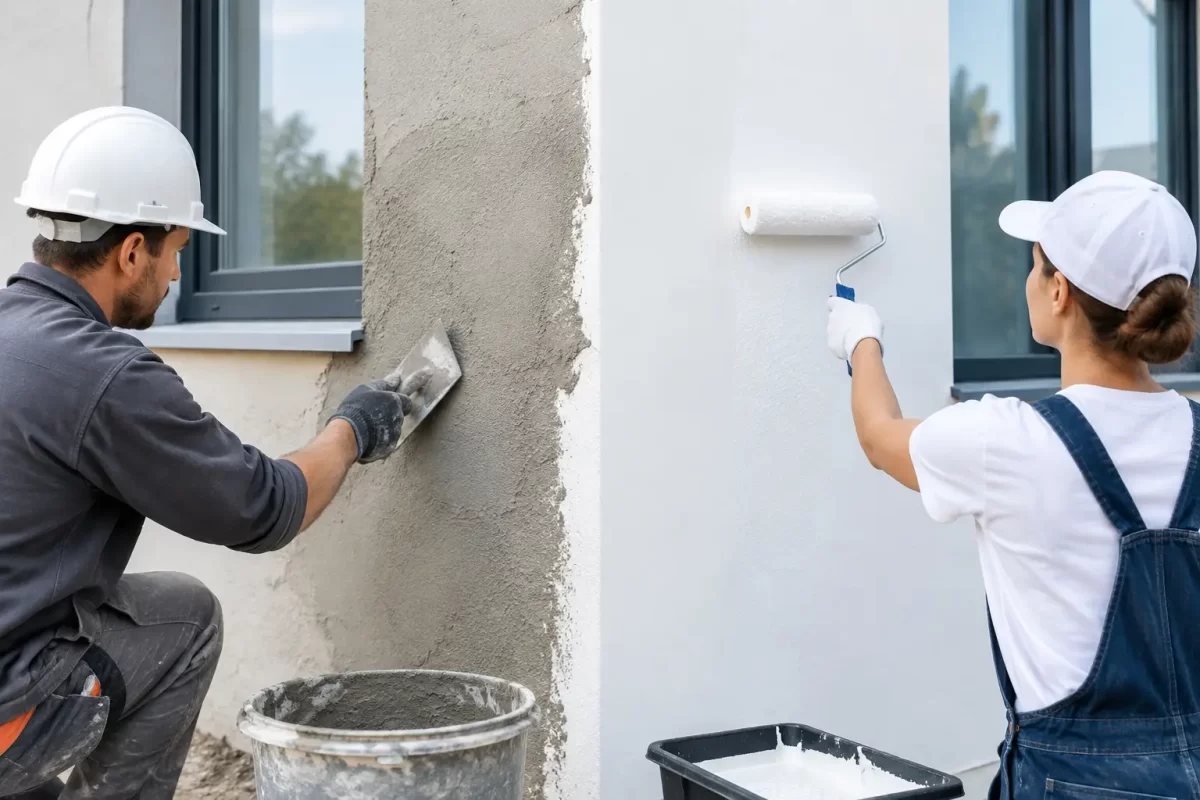
A new coat of exterior paint can lift the whole appearance of a property, but it cannot fix a failing surface underneath. When weighing up render repair versus repainting, the right first step depends on the condition of the render itself. Paint protects and refreshes the finish. Render repair restores the surface that paint needs to bond to.
For Gold Coast homes and commercial properties, this distinction matters. Sun, wind-driven rain, humidity and salt air can all place pressure on rendered walls. Addressing cracks, hollow areas or moisture issues before painting gives the new finish a far better chance of looking clean and lasting well.
Render Repair Versus Repainting: The Main Difference
Repainting is primarily a finishing job. It involves preparing a sound painted surface, applying suitable primers where required, and coating the wall with quality exterior paint. It improves colour, presentation and weather protection, but it is not designed to bridge significant movement, rebuild missing render or stop water entering through cracks.
Render repair is surface restoration. It may include removing loose or drummy render, opening and repairing cracks, patching damaged sections, levelling imperfections and allowing repairs to cure before the painting system is applied. Done properly, the repaired section should blend with the surrounding wall rather than stand out once painted.
The order is straightforward: if the render is unsound, repair it first. If the render is stable and the issue is limited to faded, chalky or peeling paint, repainting may be all that is needed.
Signs Your Property Needs Render Repair First
Not every mark in a rendered wall means major work is required. Fine surface lines can sometimes be limited to old paint coatings, while more pronounced cracks may point to movement, water exposure or a loss of adhesion. The important part is understanding what is happening below the paint.
Cracks that return or run through the render
Hairline cracks may be repairable as part of normal preparation, particularly where they are shallow and localised. Wider cracks, diagonal cracking around openings, or cracks that continue to grow deserve closer inspection. Simply painting over them can make the wall look better briefly, but the crack is likely to show again as the surface moves.
A professional assessment can help determine whether the crack is confined to the render or whether there is a broader issue requiring attention before cosmetic repairs begin.
Hollow, loose or crumbling patches
Render that sounds hollow when lightly tapped may have detached from the substrate. Areas that are bubbling, flaking, soft to touch or breaking away should not be hidden under paint. Loose material needs to be removed back to a firm edge, then rebuilt with a compatible repair material.
Painting over unsound render often leads to premature peeling because the new coating is only as reliable as the surface beneath it.
Water staining, dampness or mould growth
Staining near windows, parapets, balconies, rooflines or external plumbing can signal a moisture problem. Repainting without finding the source may trap the issue behind a fresh finish, and stains or mould can return quickly.
The cause may be cracked render, failed sealant, leaking flashings, blocked drainage or water entering around fixtures. Repairs should deal with the water path first, then allow the wall to dry sufficiently before priming and painting.
Previous patch repairs that stand out
Older repairs can become obvious due to poor texture matching, uneven edges or different paint absorption. If the surrounding render remains solid, these areas can often be refined and blended before repainting the full elevation. This is usually a better result than spot-painting individual patches, which can leave visible changes in colour and sheen.
When Repainting Is Enough
A repaint may be the practical choice where the render is firm, dry and largely free from cracking, but the paint film has reached the end of its life. Common signs include fading from UV exposure, a dull or chalky surface, minor peeling in isolated areas, or a colour scheme that no longer suits the property.
Preparation remains essential. Exterior walls should be cleaned to remove dirt, salt residue, mould and chalking paint. Any loose coating needs to be scraped or sanded, minor defects filled, and bare or repaired areas primed as needed. Skipping this work may save time at the start, but it can shorten the life of the new paint system.
A quality repaint also gives owners the chance to reconsider colour. Lighter colours can help reduce heat absorption on exposed walls, while a well-chosen trim colour can sharpen the look of windows, fascias and architectural details. Colour choice should still work with the roof, paving, neighbouring finishes and the amount of natural light the building receives.
Why Painting Over Damaged Render Is a False Economy
It is understandable to want the quickest route to a tidy exterior, especially before selling, leasing or reopening a commercial space. However, painting over loose render or active cracks usually shifts the cost down the track rather than removing it.
As damaged render continues to move or break down, the paint film above it can crack, blister or detach. Water can then get behind the coating, widening the damaged area. What could have been a targeted repair may become a larger removal and reinstatement job.
There is also an appearance issue. Fresh paint tends to highlight uneven patches, poor repairs and inconsistent textures, particularly in strong side light. Proper preparation is what gives exterior painting its clean, even finish.
A Practical Approach to Exterior Render and Paintwork
The best approach is not automatically the biggest repair job or the fastest repaint. It is a clear assessment of the surface, followed by the work needed to make it stable, presentable and protected.
Start by looking closely at several areas of the exterior, not just the most visible wall. Check around windows and doors, below rooflines, near downpipes, at corners and along lower walls where water can splash back. Note cracks, bubbling paint, staining and sections that appear uneven.
Next, consider timing. Render repairs need appropriate curing time before painting, and exterior work relies on suitable weather conditions. Rushing to coat a damp or uncured repair can affect adhesion and the final appearance. A reliable painter will factor preparation, drying time and access requirements into the scope rather than treating them as afterthoughts.
Finally, make sure the repair materials, primers and topcoats are compatible. Different render types and existing coatings can require different preparation methods. The aim is a complete system that works together, not a patchwork of products applied without regard for the substrate.
Choosing the Right Scope for Your Property
For a recently renovated home with a few small blemishes, localised render repairs followed by a full repaint may be enough to achieve a polished result. For an older property with widespread hollow render, recurring cracks or water damage, it may be wiser to investigate the underlying cause before finalising the paint scope.
Commercial properties have similar considerations, often with the added need to stage work around customers, tenants or business operations. Planning repair and painting work properly can reduce disruption while ensuring the finished surface reflects well on the business.
At Jag Painting Solutions, the focus is on preparing surfaces properly before applying the final finish. Clear advice at the quoting stage helps property owners understand whether they are looking at a straightforward repaint, targeted render repairs, or both.
A fresh exterior should do more than look good on the day the painters leave. Taking the time to repair unstable render first gives your paintwork a sound base, protects the property from avoidable deterioration and helps the finished result hold its appearance for longer.


