

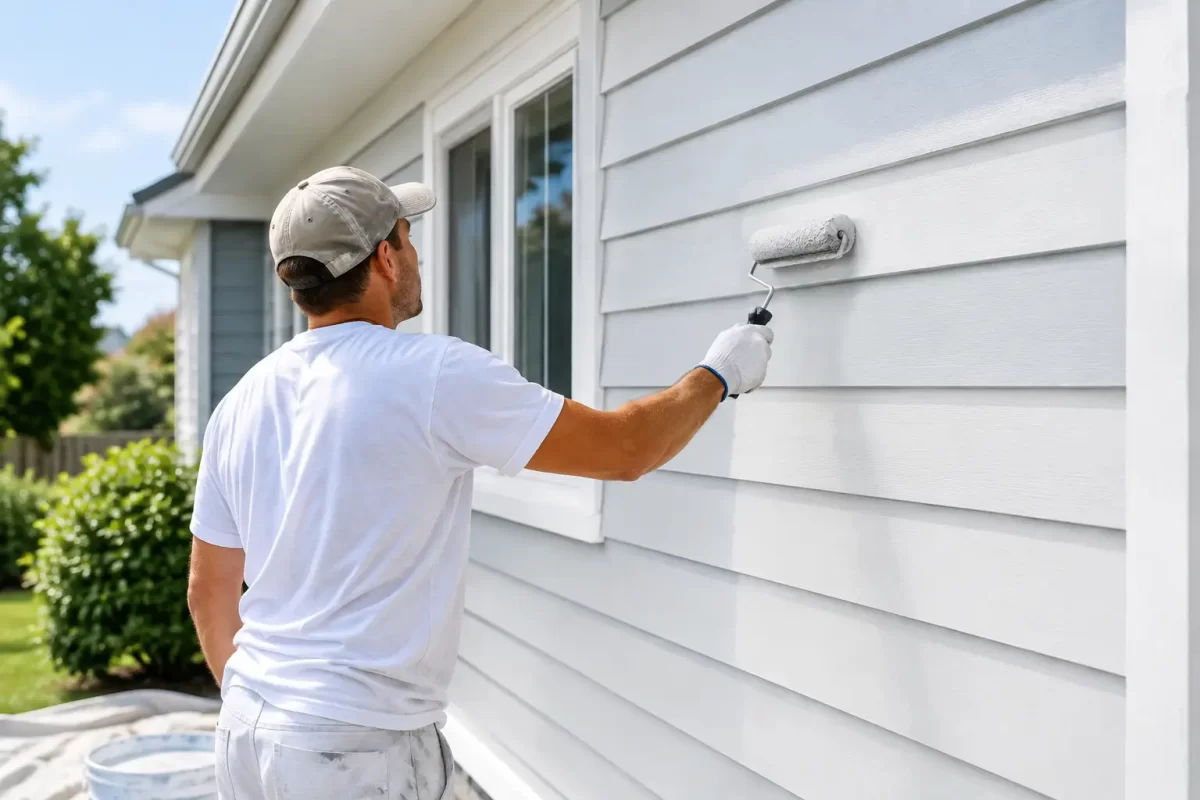
Sun-facing weatherboards can look tired long before the rest of a home does. Paint may turn chalky, joints can open up, and boards around windows often start peeling first after years of heat, rain and coastal humidity. This weatherboard repaint example shows what a professional exterior repaint should involve, from the first inspection through to the final coat.
The difference is rarely just the colour. A lasting result comes from dealing with the timber, old coatings and moisture risks before fresh paint goes anywhere near the walls.
A weatherboard repaint example: starting with the real issues
Consider a typical Gold Coast weatherboard home that has not been painted for around 10 years. From the street, it may simply appear faded. Up close, the picture is often more detailed: flaking paint on the western elevation, fine cracks along board edges, failed caulking around window trims and bare timber exposed at a few joins.
The aim is not to paint over these signs of wear and hope for the best. The aim is to restore a sound, sealed surface that looks sharp and is better protected from the weather.
A proper assessment starts by checking the condition of every elevation. Areas under wide eaves may be in much better condition than walls exposed to afternoon sun and driving rain. Fascias, corner boards, window trims and timber battens also need inspection, because these details can affect both the appearance and lifespan of the repaint.
Where boards are soft, split or badly cupped, repainting alone will not solve the issue. Those sections may need repair or replacement before preparation begins. Likewise, paint blistering can point to trapped moisture, so the cause should be identified rather than simply scraped and recoated.
What the inspection can reveal
On a well-maintained home, the existing coating may still be sound enough for standard preparation and repainting. On an older property, there may be several previous paint layers with different levels of adhesion. That changes the approach.
A professional painter will look for loose paint, chalking, gaps, rust stains from old fixings, damaged putty or caulking, and timber movement around joints. They should also check whether downpipes, garden beds, decks and paths need protection before work starts.
For older homes, it is sensible to take extra care when disturbing historic paint coatings. The preparation method should suit the condition and age of the property, while keeping the work area controlled and tidy.
Preparation is where the repaint is won or lost
The visible painting stage is only one part of a weatherboard repaint. Preparation takes time because every loose edge, open gap and exposed patch can affect the finish.
First, the exterior is washed to remove dirt, salt residue, cobwebs, mould and chalky paint residue. On the Gold Coast, this step matters. A clean surface gives primers and topcoats a far better chance of bonding properly. Any mould treatment needs time to work, and surfaces must be allowed to dry before coating.
Loose or peeling paint is then scraped back to a firm edge. The weatherboards and trims are sanded where needed to smooth rough patches and feather old paint edges. This helps prevent a patchy, ridged look once the new colour is applied.
Gaps around trims and joints are sealed with a suitable flexible exterior sealant. Small surface imperfections can be filled, sanded and spot-primed. Where bare timber is exposed, it must be primed rather than left for the topcoat alone to handle.
Careful masking and drop-sheeting are equally important. Windows, paving, garden areas and outdoor furniture should be protected, while nearby surfaces are kept free from overspray and splatter. Good workmanship includes leaving the property neat at the end of each day, not just producing a tidy paint finish.
Selecting the right paint system for timber
Weatherboards expand and contract with changing temperatures and moisture levels. The coating system needs to accommodate that movement while providing reliable coverage and weather protection.
In this repaint example, the painter may use a quality exterior timber primer on bare areas and repairs, followed by two full topcoats across the weatherboards and trim work. The exact primer and paint choice depends on the existing surface, whether it has previously been painted with water-based or oil-based products, and the condition of the timber.
Colour selection also has a practical side. Dark colours can look striking on a weatherboard home, but they absorb more heat. On exposed elevations, that extra heat can place greater stress on timber and coatings. Lighter or mid-tone colours often suit Queensland-style homes well and can make routine maintenance more forgiving.
That does not mean dark colours are off the table. It means the condition of the cladding, the amount of direct sun and the chosen paint system should all be considered before making the final decision. A colour consultation can help homeowners compare options against roofing, brickwork, decks and surrounding landscaping rather than choosing from a small paint card in isolation.
Applying the coats with consistency
Once repairs, sanding, priming and masking are complete, painting can begin. Weatherboards are generally coated methodically, working along the boards to maintain a consistent finish and avoid obvious lap marks.
The painter needs to watch the weather as closely as the walls. Applying paint in extreme heat, on a damp surface or when rain is expected too soon can compromise drying and adhesion. A reliable contractor schedules the work around suitable conditions instead of rushing coats on because the job needs to be finished by a certain date.
Cutting in around windows, corners and eaves is done carefully before or alongside larger areas. Depending on the home and coating selected, a combination of brush, roller and spray application may be used. The method matters less than even coverage, correct film build and clean detailing.
Between coats, the surface should be checked for rough spots, missed sections, drips or debris. Two coats are not automatically a quality result if the first coat has been applied unevenly or the surface beneath it was not properly prepared. Attention at each stage creates the crisp, even finish homeowners expect.
What a finished weatherboard repaint should look like
At completion, the home should look refreshed without hiding the character of the timber cladding. Board lines should remain neat, repairs should blend in, and the colour should be even across walls, trims and detailed areas.
Look closely at windows, corners, fascia boards and the bottom edges of weatherboards. These are the areas where rushed preparation often becomes obvious. There should be no loose paint, heavy paint build-up in corners, missed gaps or untidy sealant lines.
A quality repaint also makes ongoing maintenance simpler. Dirt can be washed away more easily, the timber is better sealed against moisture, and minor issues are easier to spot before they become expensive repairs.
Timing and cost depend on the condition, not just the size
Two homes with the same floor plan can require very different repainting work. One may need washing, minor filling and a straightforward two-coat system. The other may need extensive scraping, timber repairs, replacement boards, mould treatment and detailed access work around high gables or sloping blocks.
That is why an accurate quote should be based on an on-site inspection. It gives the painter a chance to assess access, surface condition, repair requirements and the level of detail involved. It also gives the homeowner an opportunity to ask what is included, which areas will be painted, how the property will be protected and how long the work is likely to take.
Trying to save money by skipping preparation can create a false economy. If paint starts lifting again within a short period, the cost and disruption of fixing it usually outweigh the initial saving.
When a repaint is not enough
A repaint is a strong option when the weatherboards are fundamentally sound and the coating failure is mostly on the surface. It is not a substitute for repairing active leaks, extensive rot, failing flashings or widespread timber deterioration.
If problems are localised, replacing a small number of boards before painting can protect the rest of the project. If damage is widespread, other building repairs may need to happen first. A trustworthy painter will be clear about that rather than coating over defects that are likely to return.
For homeowners planning an exterior refresh, the best place to start is with a close look at the areas that receive the most weather. A well-planned repaint protects more than street appeal. With careful preparation, suitable products and skilled application, your weatherboard home can stay looking cared for for years to come. Jag Painting Solutions can provide a detailed exterior assessment and free quote for properties across the Gold Coast and Tweed.


