

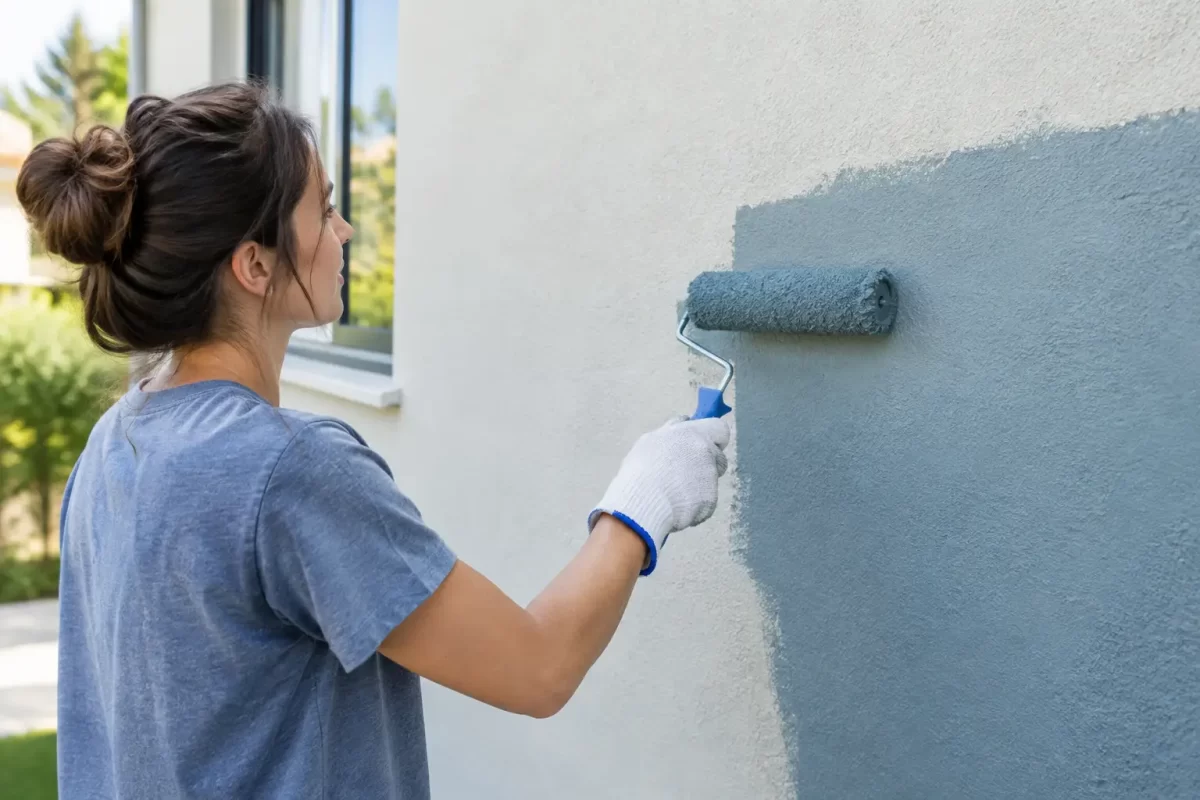
A rendered wall can look tired long before the render itself needs replacing. Fading, chalky paint, fine cracking and patchy repairs are common on homes exposed to strong sun, coastal air and wet-season humidity. To repaint rendered walls properly, the job needs more than a fresh top coat. The condition of the surface, any moisture issues and the coating system all affect how the finish will look and how long it will last.
For Gold Coast homes especially, exterior paintwork has to deal with heat, UV exposure, driving rain and, in some areas, salt in the air. Good preparation is what prevents a repaint from peeling, blistering or showing every old defect again within a year or two.
Start by assessing the render, not the paint colour
Before choosing colours, inspect the walls closely in daylight. Look for hairline cracks, larger movement cracks, hollow or loose render, bubbling paint, white powdery deposits and areas where the coating has lifted. Each points to a different issue, and painting straight over the problem usually only hides it temporarily.
Hairline cracks are common as a building settles and as render expands and contracts through changing temperatures. These can often be filled with a suitable flexible exterior filler before painting. Wider cracks, repeated cracks in the same location or cracks around windows and doors deserve closer attention. They may indicate movement, failed joints or water entering behind the render.
Also run a hand across the wall. If a chalky residue comes away on your palm, the old paint has weathered and needs thorough cleaning and stabilising before new paint is applied. If the surface sounds hollow when lightly tapped, or sections of render are breaking away, those areas should be repaired before any coating work begins.
Check for moisture before repainting
Moisture is the main reason a well-painted wall can fail early. Blistering, mould, staining, flaking low on the wall or persistent damp patches may come from leaking gutters, damaged flashings, plumbing leaks, poor drainage or water tracking in through cracks.
Painting over a damp rendered wall traps the problem beneath the coating. The result can be peeling paint, mould growth and further damage to the render. Identify and fix the water source first, then allow the wall adequate time to dry. On shaded sides of a property, this can take longer than expected after rain.
Efflorescence is another warning sign. It appears as a white, powdery or crystalline deposit and occurs when moisture carries salts to the surface. Brush it off, clean the area and address the moisture path before coating. A professional painter can help assess whether the wall is suitable for painting or whether remedial repairs should come first.
Preparing rendered walls for painting
Preparation is where the quality of an exterior repaint is won or lost. A clean, sound and dry surface gives primer and paint the grip they need. Skipping this stage may save time at the start, but it often leads to a shorter-lasting finish and a more expensive repaint later.
Start by washing down the walls to remove dirt, salt, cobwebs, mould and loose paint. The cleaning method should suit the condition of the render. High-pressure cleaning can be effective when done carefully, but excessive pressure can damage soft or deteriorated render, force water into cracks or strip sound coatings unnecessarily. A controlled wash, mould treatment where required and thorough rinsing are often the safer approach.
Once clean and dry, scrape back all loose or peeling paint to a firm edge. Sand rough patches, feather the edges of repairs and remove dust before priming. Any existing mould should be treated rather than simply painted over, as it can return through the new coating.
Repair cracks and damaged areas correctly
Small surface cracks can generally be filled with a flexible exterior crack filler designed for rendered masonry. The filler needs to be compatible with the planned paint system and allowed to cure fully. Rigid fillers can crack again when the wall moves, which is why product selection matters.
For damaged render, the repair should match the surrounding texture and profile as closely as possible. A flat patch on a textured wall will stand out after painting, particularly in low-angle sunlight. Larger repairs may need re-rendering rather than filling, and they should cure properly before primer is applied.
It is also worth checking joints between render and other materials, such as timber trim, window frames or masonry additions. These areas move differently and often require a flexible sealant rather than a hard patching compound.
Choose the right coating system
Not every exterior paint is right for rendered walls. Render is porous and can be prone to fine movement, so it benefits from a quality exterior masonry coating with good adhesion, weather resistance and flexibility. The best system depends on whether the surface is new, previously painted, chalky, repaired or affected by coastal conditions.
A suitable primer or sealer is often essential. Bare render and repaired patches can absorb paint unevenly, creating a patchy sheen or inconsistent colour if they are not sealed first. A primer can also bind a chalky surface once it has been cleaned and prepared correctly. Where old paint is sound, a full prime may not always be needed, but spot-priming repairs and exposed areas is still good practice.
For many rendered exteriors, a premium low-sheen acrylic finish offers a practical balance. It is easier to maintain than rougher finishes, helps disguise minor surface irregularities and provides a modern appearance. More textured coatings can suit heavily textured render, while elastomeric-style systems may be considered where fine cracking is a recurring issue. These products have benefits, but they are not a solution for structural movement or ongoing moisture.
Colour also affects performance. Dark colours absorb more heat, which can place extra stress on sun-exposed render and make surface imperfections more obvious. That does not mean dark shades are off limits, but they should be chosen with an understanding of the wall’s condition, aspect and the coating manufacturer’s recommendations. A colour consultation can help homeowners make a choice that suits both the property and the environment.
The right way to apply paint to rendered walls
After repairs, cleaning and priming are complete, apply the coating in line with the product’s spread rate and drying requirements. Render has plenty of texture and porosity, so thin coats applied too quickly can leave missed areas, poor coverage and reduced protection.
Brushes are useful for cutting in around windows, eaves, downpipes and tight details. Rollers with an appropriate nap help work paint into the texture, while spray application can provide efficient coverage on larger walls when it is followed by back-rolling. Back-rolling pushes the paint into pores and evens out the finish, which is particularly valuable on textured render.
Two full top coats are normally required for consistent colour and protection. Allow proper drying time between coats, and avoid painting when rain is expected, when the wall is hot to the touch or when humidity is too high for the product to cure as intended. On the Gold Coast, planning around changing weather conditions is part of doing the job properly.
Common mistakes that shorten the life of a repaint
The most common mistake is treating a rendered wall like any other painted surface. Covering cracks without investigating them, applying paint over chalking, or using a cheap coating on a harshly exposed wall can all lead to early failure.
Another issue is painting too soon after pressure cleaning, repair work or rain. The surface may look dry while moisture remains within the render. Poor masking, rushed cutting-in and missed edges around fixtures can also spoil an otherwise good exterior repaint.
DIY work can be suitable for a small, sound wall with straightforward access. However, a full house exterior, significant cracking, mould, high areas or uncertain paint failure are usually worth having assessed by experienced tradesmen. Professional preparation, safe access equipment and a coating system matched to the surface make a visible difference to the result.
When to call a professional painter
If you are unsure whether cracks are cosmetic, if render is drummy or loose, or if paint is peeling in more than one area, seek advice before committing to a colour. A professional inspection can identify what needs repairing, whether the existing coating is stable and which products are appropriate for the job.
Jag Painting Solutions prepares and repaints rendered exteriors with the same care given to interior and commercial work: protecting surrounding areas, repairing surfaces properly and applying finishes designed to perform. Clear advice before work begins helps avoid surprises and gives you confidence in the finished result.
A rendered wall should not just look freshly painted on the day the job is finished. With sound repairs, careful preparation and the right exterior coating, it can stay clean, protected and presentable through years of coastal weather. If the condition of your walls is unclear, arranging a professional quote is a sensible first step before choosing the paint tin.


