

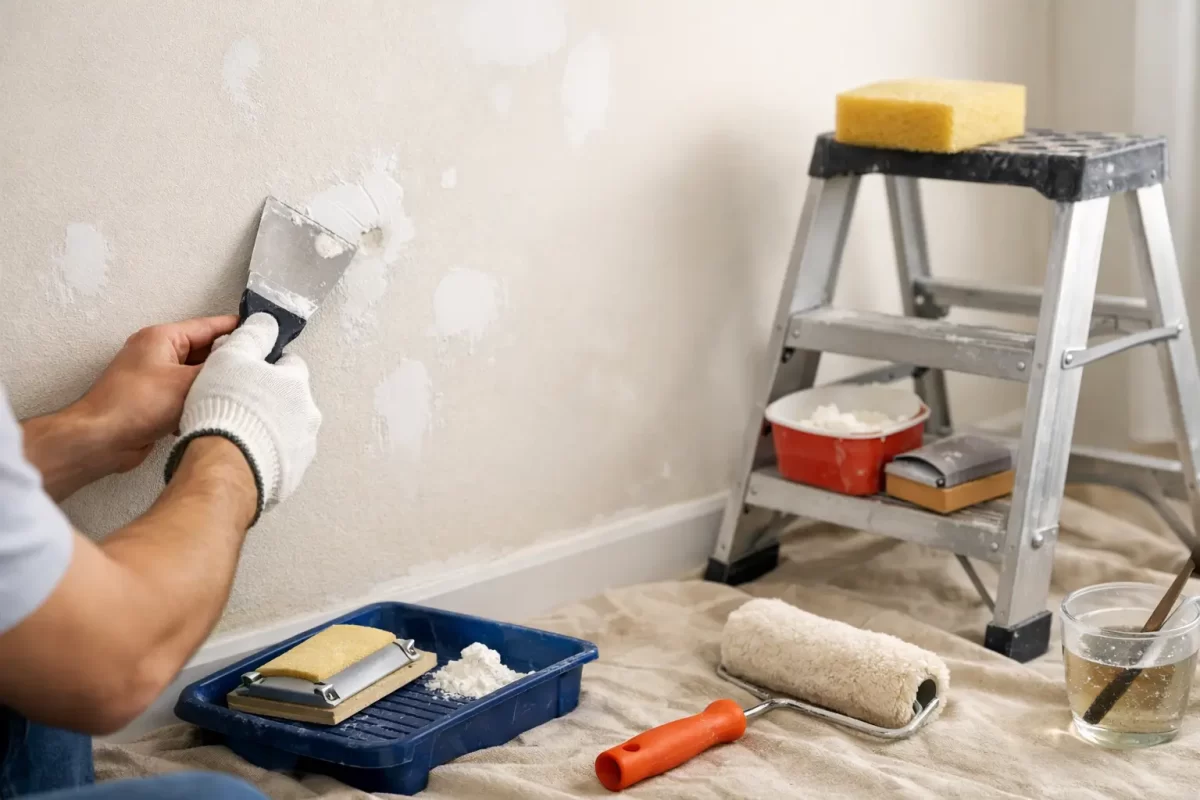
A paint job can only look as good as the surface underneath it. If you are wondering how to prepare walls for painting, the short answer is this: clean them properly, fix what needs fixing, and create a sound, even surface before any paint goes on. That prep work is what separates a tidy, lasting finish from one that shows every dent, crack and patch.
Many painting problems that people blame on the paint are really surface problems. Peeling, flashing, patchy absorption, rough spots and visible repairs usually start long before the first coat. Good preparation takes more time than most expect, but it is the part that protects the final result.
Why wall preparation matters
Fresh paint highlights defects rather than hiding them. A wall that looked acceptable in flat daylight can suddenly show sanding marks, dents, old patching and greasy fingerprints once a new coat goes on, especially with low-angle light or darker colours.
Preparation also affects durability. Paint needs a clean, stable surface to bond properly. If there is dust, chalking, loose material or moisture trapped underneath, the finish may fail earlier than it should. In homes, that can mean scuffed walls and premature wear. In commercial spaces, it can affect presentation just as quickly.
How to prepare walls for painting step by step
There is no single method for every wall, because surface condition matters. A newly plastered room needs different treatment from an older home with cracks and previous repairs. Still, the process usually follows the same order.
Start by clearing and protecting the area
Move furniture away from the walls where possible and cover floors properly. Remove wall art, hooks, switch plates and anything else that will get in the way of a clean cut line. Taking a few extra minutes here makes the job neater and helps avoid accidental splatter on fittings and flooring.
Good lighting also helps at this stage. Side lighting from a lamp or open window makes imperfections easier to spot before you start repairs.
Clean the walls before anything else
Dust, grease and grime are common reasons paint does not adhere as it should. Even walls that look clean can carry cooking residue, hand marks, smoke staining or fine dust.
Wash the surface with sugar soap or a suitable wall cleaner, especially in kitchens, hallways, bathrooms and commercial areas with heavier use. After cleaning, allow the wall to dry fully. Painting over damp surfaces can lead to adhesion issues and uneven drying.
If mould is present, it needs proper treatment first. Painting over it will not solve the problem, and if the source of moisture remains, it is likely to return.
Inspect the surface closely
Once the wall is clean, defects are easier to see. Look for nail holes, dents, flaking paint, hairline cracks, larger movement cracks, bubbling, water stains and soft areas in plaster. Press gently around damaged spots to check whether the problem is only cosmetic or whether the substrate has failed underneath.
This is where experience matters. A small crack may only need filling, but repeated cracking can point to movement that needs a more durable repair. Water stains may need stain blocking, but they also raise a more important question: has the leak been fixed?
Remove loose and failing material
Any peeling or flaking paint has to come off. Scrape back loose edges until you reach firm, sound material. If you paint over unstable areas, the fresh coating will only be as strong as what sits beneath it.
Glossy painted surfaces may also need sanding to dull them down and improve adhesion. The goal is not to remove every previous coat, but to give the new system a clean, keyed surface to grip to.
Fill holes, cracks and damaged areas
Small dents and screw holes can usually be patched with a suitable filler. Wider cracks may need a more flexible compound, and deeper damage may require patching in layers rather than overfilling in one go.
This stage is often rushed, and it shows later. Filler shrinks as it dries, so some repairs need a second application to sit flush with the surrounding wall. On plasterboard joins or larger cracks, tape may also be needed to reinforce the repair and reduce the chance of it reappearing.
If the wall has widespread damage, it may be more practical to skim or re-plaster sections rather than trying to spot-repair everything. That depends on the age of the wall, the finish expected and how visible the room is.
Sand for a smooth, even surface
After repairs dry, sand them level with the rest of the wall. Sanding also helps feather out scraped edges and smooth minor surface texture. The aim is consistency. You do not want repaired areas standing proud or sinking under the final coat.
Use the right grit for the task and avoid over-sanding plasterboard paper or soft surfaces. Once sanding is complete, remove all dust thoroughly. Dust left on walls can interfere with primer and paint and leave a gritty finish.
Prime where needed
Not every wall needs a full prime, but many need at least spot priming. Bare plaster, fresh filler, repaired sections, stained areas and porous surfaces should be primed before painting.
Primer helps even out porosity so the topcoat dries more consistently. Without it, patched areas can flash through the finish, meaning they show up as duller or shinier spots even after painting. Stains from water damage, smoke or tannins may also need a specialised sealer rather than a standard primer.
For new plaster, timing matters. It has to be fully cured before coating. For previously painted walls in good condition, a wash and light sand may be enough before topcoating, but that depends on the existing finish and whether there are compatibility concerns.
Common mistakes when preparing walls for painting
The biggest mistake is assuming paint will hide poor prep. It rarely does. In fact, a fresh coat often makes defects more obvious.
Another common issue is skipping cleaning because the wall “looks fine”. In lived-in homes and working commercial spaces, invisible residues are common. Grease near light switches, aerosol residue in bathrooms and dust from nearby renovation work can all affect adhesion.
People also tend to underestimate drying times. Filler, washed surfaces and primers all need proper time to dry before the next step. Rushing the process can trap moisture or create a finish that does not cure evenly.
Then there is product choice. Not all fillers, primers and paints suit every surface. Older homes, patched plaster, water-damaged walls and high-moisture areas each have their own considerations.
Different walls need different preparation
Previously painted walls
If the old paint is sound, preparation may be fairly straightforward: clean, sand, patch minor defects and prime repaired spots. If there is peeling, chalking or incompatible old coatings, more intensive preparation is needed.
New plaster or plaster repairs
These surfaces are more absorbent and usually need sealing before topcoats. Any trowel marks, ridges or rough patches should be corrected first, because once paint goes on, they are far harder to ignore.
Kitchen and bathroom walls
These often need extra attention due to grease, steam and mould risk. Surface cleaning is especially important, and any ongoing moisture issue should be addressed before painting starts.
Commercial interiors
In offices, shops and tenancy fit-outs, presentation matters, but so does durability. Preparation often needs to account for higher traffic, more visible wear and tighter project timing. A quick cosmetic fix might suit a short-term refresh, but it is not always the right choice for long-term value.
When it is worth bringing in professionals
Some wall preparation is simple enough for basic maintenance. But if you are dealing with widespread cracking, damaged plaster, water staining, failed previous coatings or high-visibility areas, professional preparation can save time and avoid a disappointing finish.
This is particularly true when the goal is a premium result rather than a quick repaint. Experienced painters and plasterers know how to read a surface, choose the right repair method and prepare walls so the paint performs as it should. That is a big part of why professionally painted rooms tend to look cleaner, sharper and more even.
For homeowners and businesses across the Gold Coast and Tweed, that level of preparation is often what makes the project feel worthwhile. At Jag Painting Solutions, careful prep is treated as part of the job, not an optional extra, because it is the foundation of the finish.
Painting starts well before the first coat. If you take the time to prepare the surface properly, the colour will sit better, the finish will last longer, and the room will look the way it should from day one.


